Once you create a deal using the Addify Daily Deals plugin, you can customize the popups and in-page displays. Go to WooCommerce > Daily Deals > Settings. From here, customize the popup and countdown timer by adjusting various dimensions, text, and color settings:
Step 1: Customize Popups
You can easily control how the popup looks by customizing the following options:
- Add the number of maximum popups displayed in a single session
- Choose the popup height (Suggested 40% to 90%)
- Select the popup width (Suggested 51% to 90%)
- Choose the popup padding/spacing (Suggested 0px to 20px)
- Select a popup background color

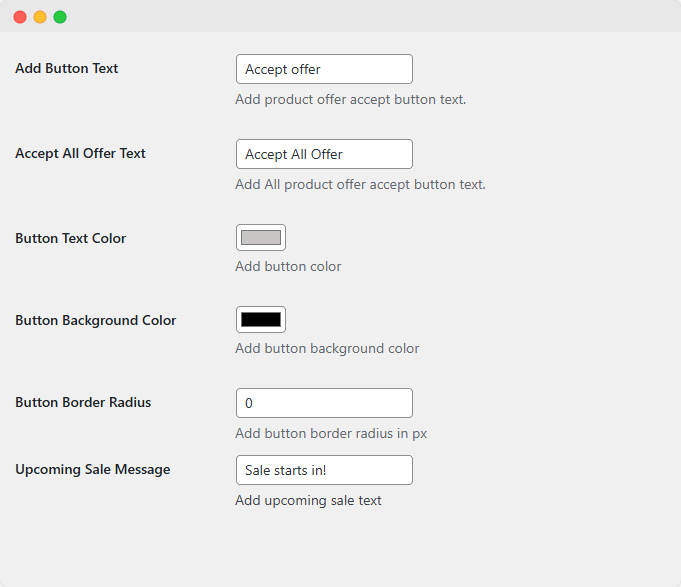
Step 2: Customize the Acceptance Button
The Acceptance button is shown on both popups and in-page. You can customize the text, colors, and dimensions through the following options:
- Add a custom text for the acceptance button on the popup
- Add All product offer accept button text
- Choose the button text color
- Choose the button text color
- Add button border-radius in px
- Add a custom text to inform users of the upcoming deal
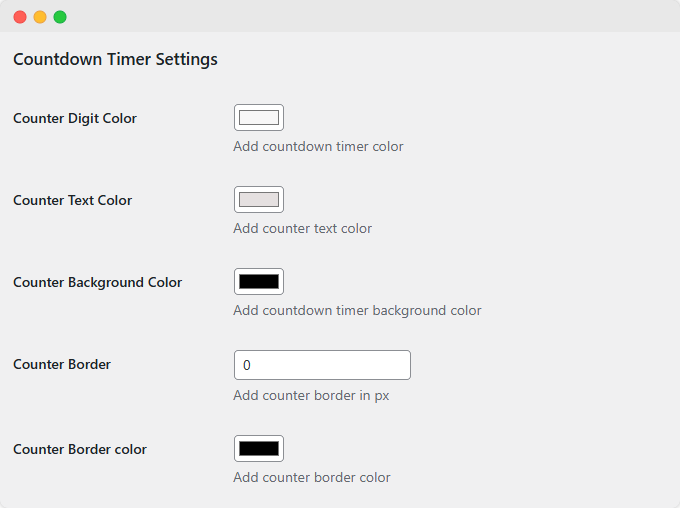
Step 3: Customize the Countdown Timer
The countdown timer is shown on both popups and in-page. You can fully personalize the countdown timer by adjusting the following settings:
- Choose the timer digit color
- Choose a text color for the timer
- Choose a background color for the timer
- Add counter border in px for the timer
- Choose a border color for the timer
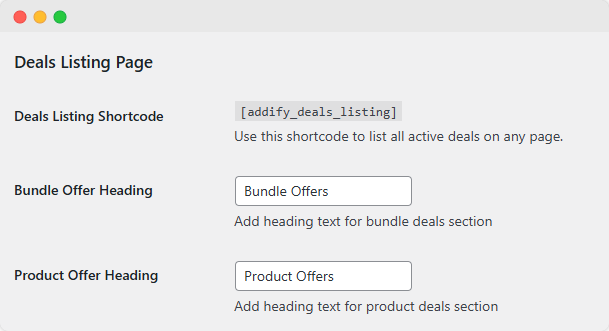
- Add heading text for the bundle deals section
- Add heading text for the product deals section