
Creating Multiple Checkout Files Upload Rules
Adding a New File Upload Rule
Go to WooCommerce > Checkout Files Upload > File Upload Rules and click on the “Add file upload rule” button.
While creating a new rule, you can customize the following settings:
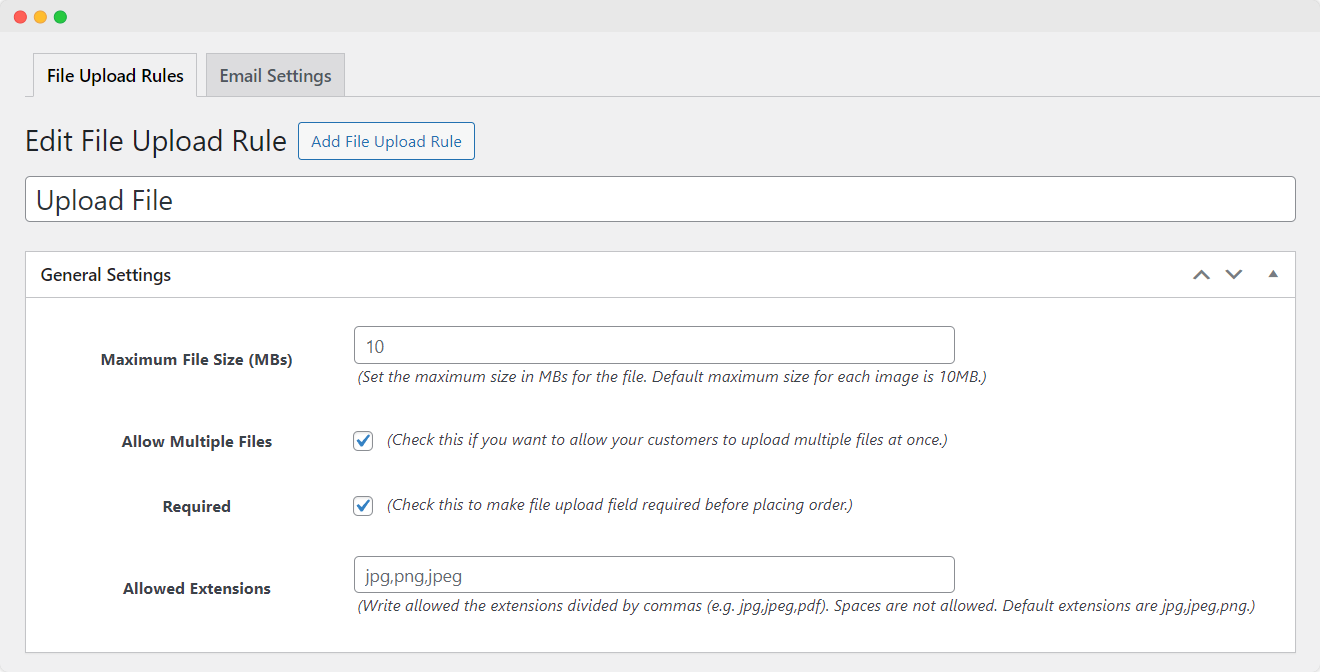
1. General Settings:
Maximum File Size (MBs): Specify the maximum file size in megabytes (MB) for uploads. By default, each image can be up to 10MB in size
Allow Multiple Files: When enabled, your customers will be able to upload multiple files at once
Required: Use this option to make the file upload field required before placing an order
Allowed Extensions: Define the permissible file extensions by separating them with commas (e.g., jpg, jpeg, pdf). Note that spaces are not permitted. Default extensions include jpg, jpeg, and png.
2. Image Dimensions:
Validate Image Dimensions: Decide whether to validate the dimensions of images with extensions like jpg, jpeg, png, or gif. The dropdown gives you the following four options:
- Do not validate
- Validate exact dimensions
- Validate against less than entered dimensions
- Validate against greater than entered dimensions

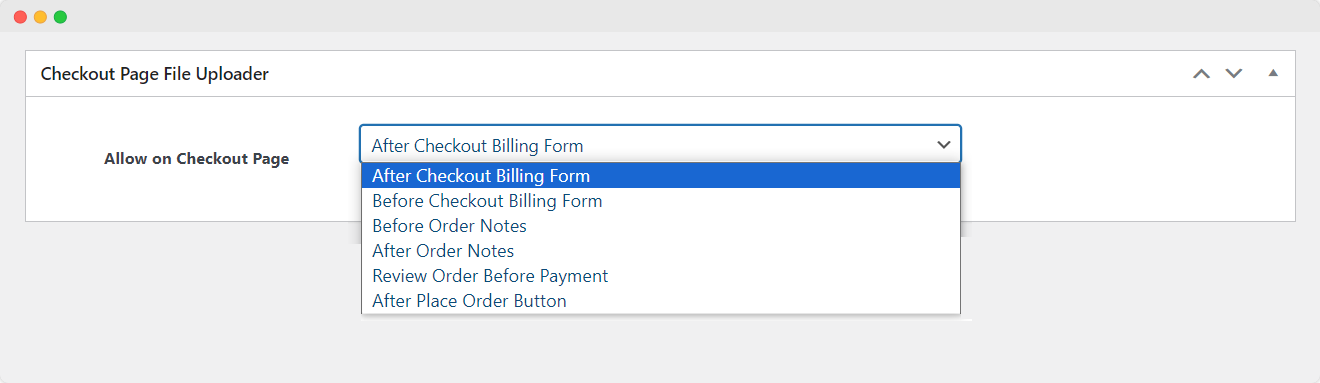
3. Checkout Page File Uploader:
Allow on Checkout Page: Choose the specific location on the checkout page where your customers can upload files. Options include:
- After checkout billing form
- Before checkout billing form
- Before order notes
- After order notes
- Review order before payment
- After place order button
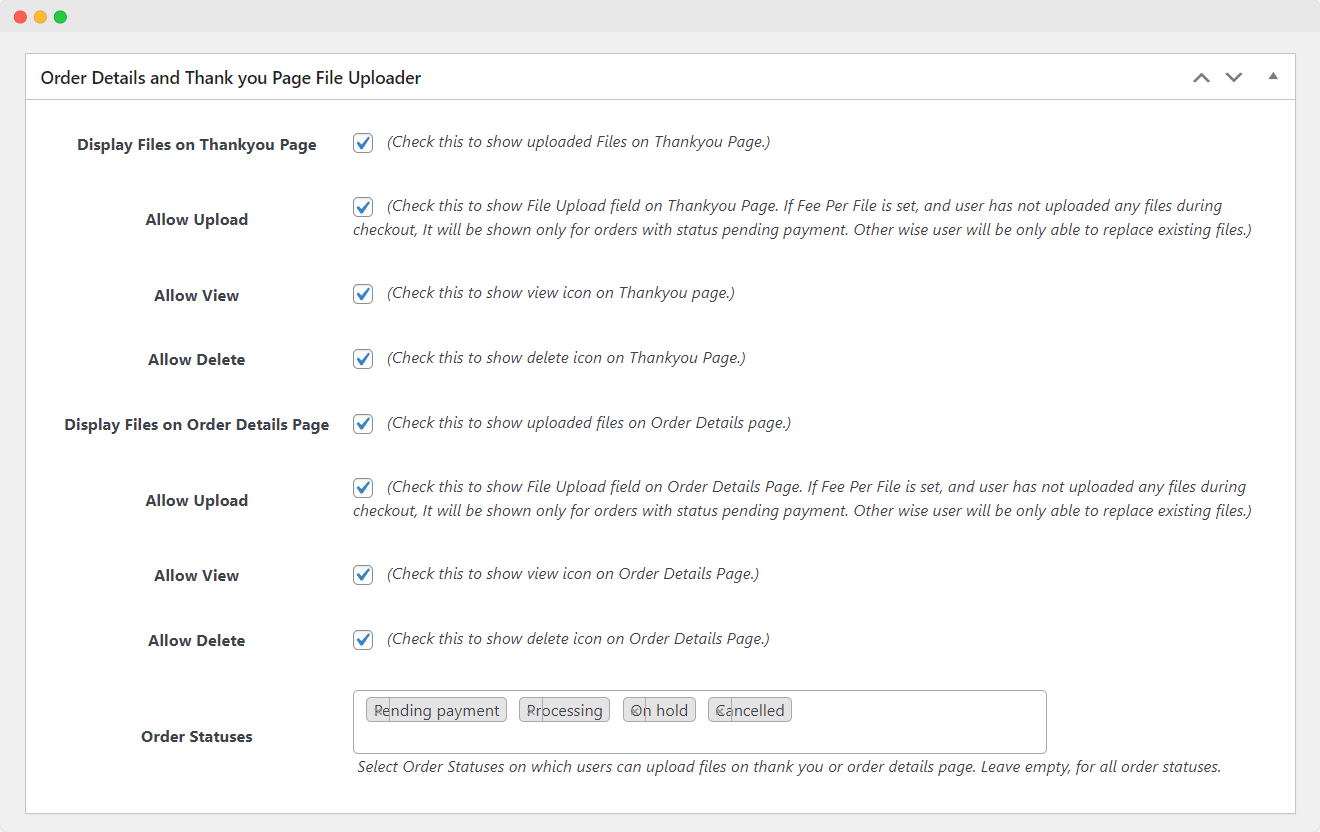
4. Order Details and Thankyou Page File Uploader:
Display Files on Thank you Page: Check this box to display the uploaded files on the Thank you Page
Display Files on Order Details Page: Check this box if you want to show the uploaded files on the Order Details page
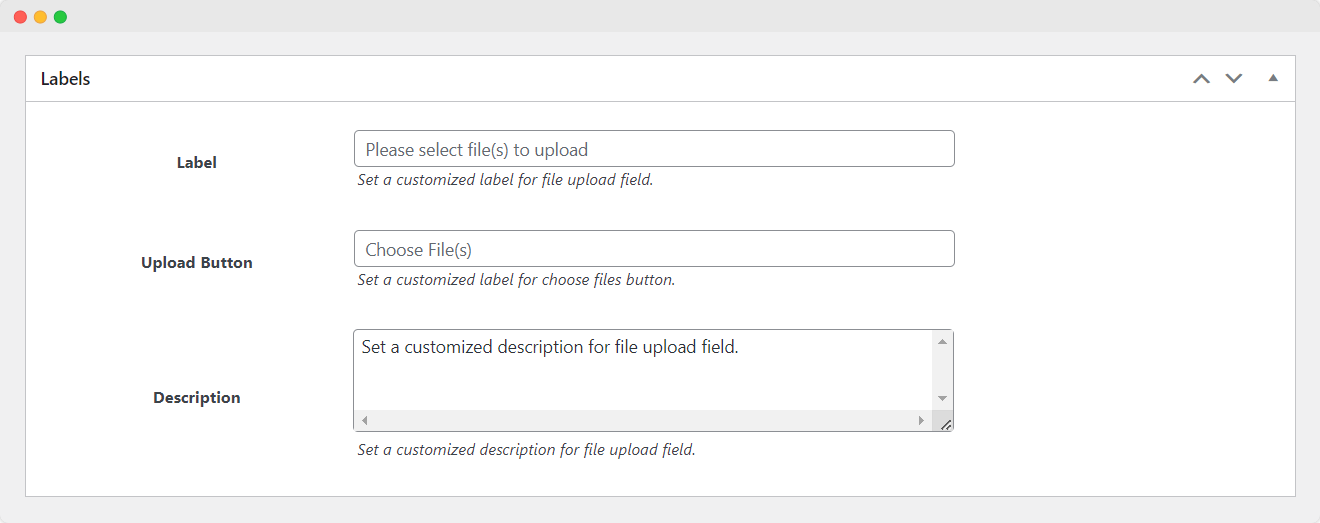
5. Labels:
Label: Customize the label for the file upload field
Upload Button: Tailor the label for the “Choose Files” button
Description: Set a customized description for the file upload field
6. Products, Categories & Tags:
Required Products: Choose products to trigger the file upload field. Leave this field empty to activate the field when any product is in the cart
Required Categories: Select categories to activate the file upload field. Leave it empty to enable the field when any category is in the cart
Required Tags: Select tags to activate the file upload field. Leave it empty to enable the field when any category is in the cart

7. User Roles:
User Roles: Select the user roles for which you want to show the file upload field. Leave empty for all user roles.
- Guest
- Administrator
- Editor
- Author
- Contributor
- Subscriber
- Customer
- Manager
- Wholesale
- B2B
- Retailer

8. Upload Fee: Enter a fee for file uploads. You can charge the fee either on a one-time basis or per uploaded file.
Note: If you don’t want to charge a fee, simply leave this field empty.

9. Rule Priority:
Order: Specify the priority of the rule. By default, it is 0.
Click the “Publish” button to save the settings.

Customizing Email Settings
Go to WooCommerce > Checkout Files Upload > Email Settings to attach the uploaded files with your order emails. This section allows you to configure the following options:
Attach Files to Admin’s New Order Email: Enable this to include customer-uploaded files as attachments in the admin’s new order confirmation email
Attach Files to Customer’s Processing Order Email: Activate this option to attach customer-uploaded files to the processing order email sent to the customer
Click “Save Changes” to apply your email preferences.

Managing File Upload Rules in a Log
Go to WooCommerce > CheckOut Files Upload > File Upload Rules.
Here, you can easily manage your file upload rules. Edit them, view their details, apply filters, and perform bulk actions as needed.


