
Configuring WooCommerce Sitemap Plugin
Viewing Existing Site Maps
Go to WP Admin Panel > Addify Site Map > All Site Maps. Here, you can view a complete list of all site maps created in a log. You can choose to edit individual site maps or perform bulk actions.
Creating a New Site Map
To create a new site map, click on “Add New Site Map” and enter the following details:
Add New Site Map:
Add Title: Add a unique title for future reference
Site Map Configurations:
Under Site Map Configurations, configure the following settings:
General Configurations:
- Filename: Define a unique filename for the site map (e.g., sitemap.xml). Avoid using the same filename for multiple site maps
- Path: Specify the path where the site map will be stored (e.g., “/sitemap/”). You can leave it empty to use the root path (path must be writeable)

Categories:
- Include Categories: Select “Yes” to include categories in the site map
- Priority: Set the priority from 0.0 to 1.0
- Frequency: Choose the update frequency from the following options:
- Always
- Hourly
- Daily
- Weekly
- Monthly
- Yearly
- Never
- Include Images: Choose “Yes” to include category images in the site map
- Select Categories: Choose the categories you want to include in the site map

Products:
- Include Products: Select “Yes” to include products in the sitemap
- Priority: Set the priority from 0.0 to 1.0
- Frequency: Choose the update frequency for products:
- Always
- Hourly
- Daily
- Weekly
- Monthly
- Yearly
- Never
- Include Images: Choose “Yes” to include product images in the site map
- Exclude Products: If you want to exclude specific products, add their URLs separated by commas (e.g., URL1, URL2, URL3)

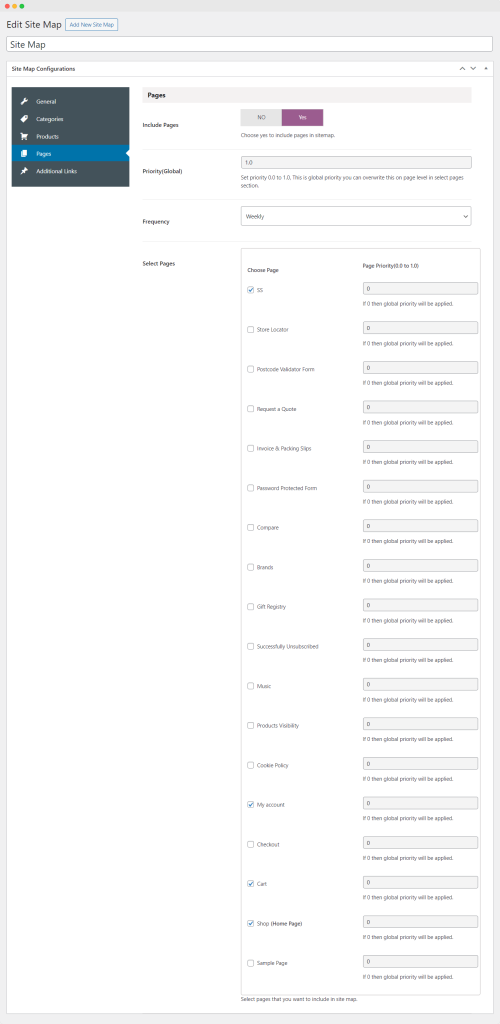
Pages:
- Include Pages: Select “Yes” to include pages in the sitemap
- Priority(Global): Set the global priority from 0.0 to 1.0. You can override this on a per-page level in the “Select Pages” section
- Frequency: Choose the update frequency for pages:
- Always
- Hourly
- Daily
- Weekly
- Monthly
- Yearly
- Never
- Select Pages: Choose the pages you want to include in the site map
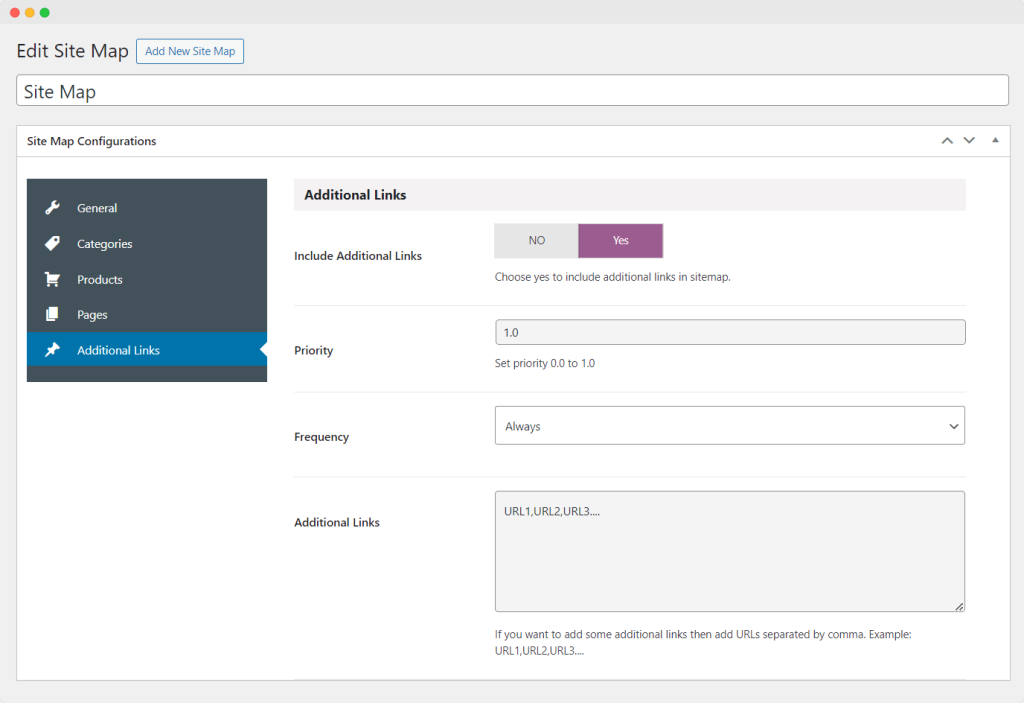
Additional Links:
- Include Additional Links: Select “Yes” to include additional links in the sitemap
- Priority: Set the priority from 0.0 to 1.0
- Frequency: Choose the update frequency for additional links:
- Always
- Hourly
- Daily
- Weekly
- Monthly
- Yearly
- Never
- Additional Links: If you want to add extra links, enter their URLs separated by commas (e.g., URL1, URL2, URL3)
Updating Site Maps With Cron Schedule
Go to WP Admin Panel > Addify Site Map > Settings.
Cron Schedule: Under General Settings, you can configure the “Cron Schedule” to determine when your sitemap files will auto-update. You have the following options:
- Hourly: Update the sitemap files every hour
- Twice Daily: Update the sitemap files twice a day
- Daily: Update the sitemap files once a day


