
Creating Multiple Terms & Conditions
To create multiple terms and conditions for your store using the WooCommerce Terms and Conditions Checkbox plugin, follow these steps:
Install and Activate the Plugin:
- Download and install the WooCommerce Terms and Conditions Checkbox plugin.
- Activate the plugin in your WordPress dashboard.
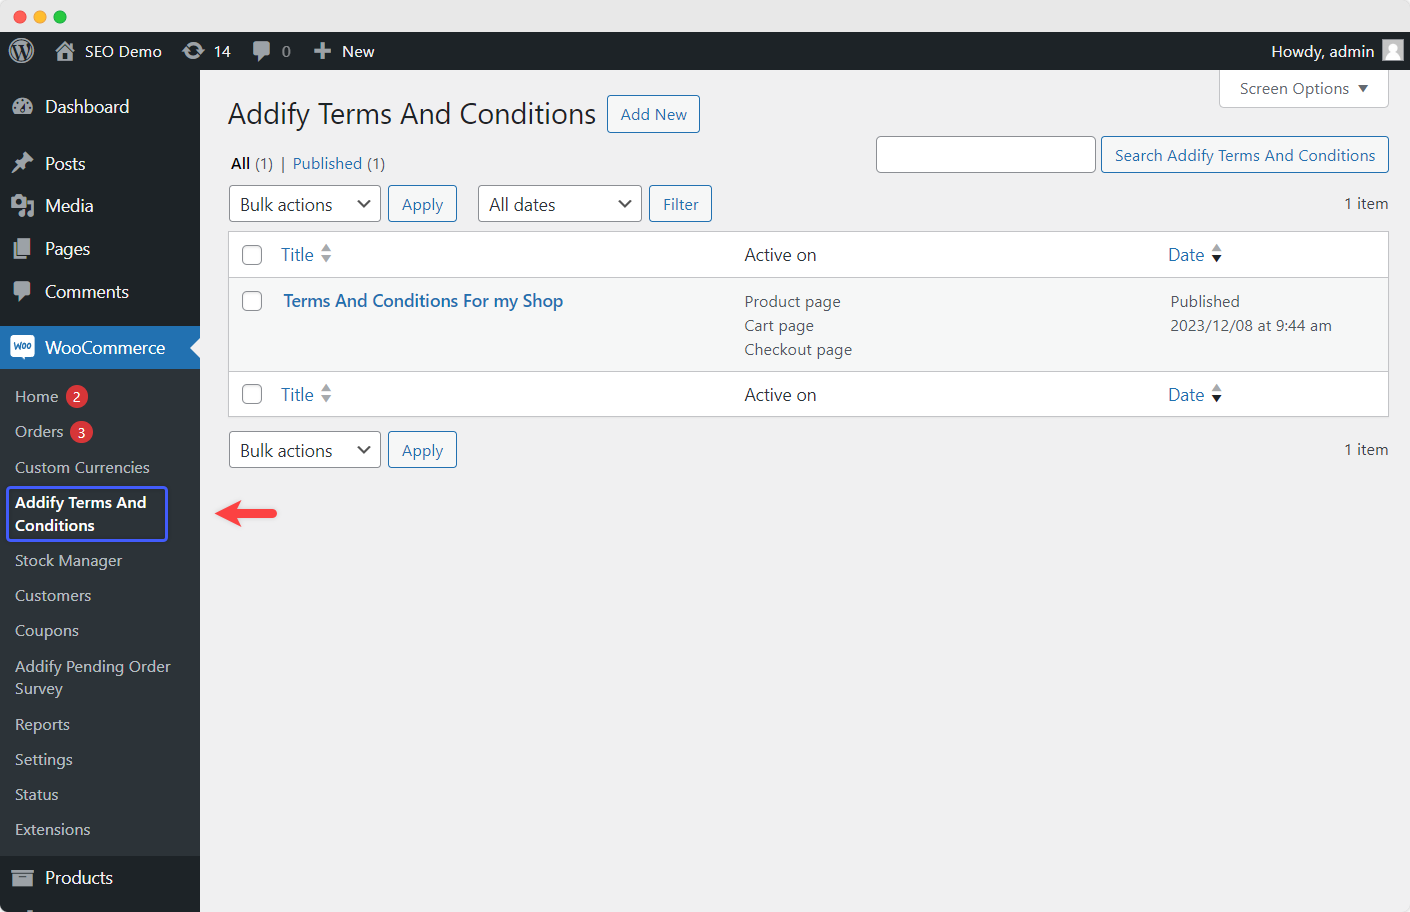
Accessing Addify Terms and Conditions:
Navigate to your WooCommerce dashboard.
Look for the “Addify Terms and Conditions” option in the WooCommerce menu.
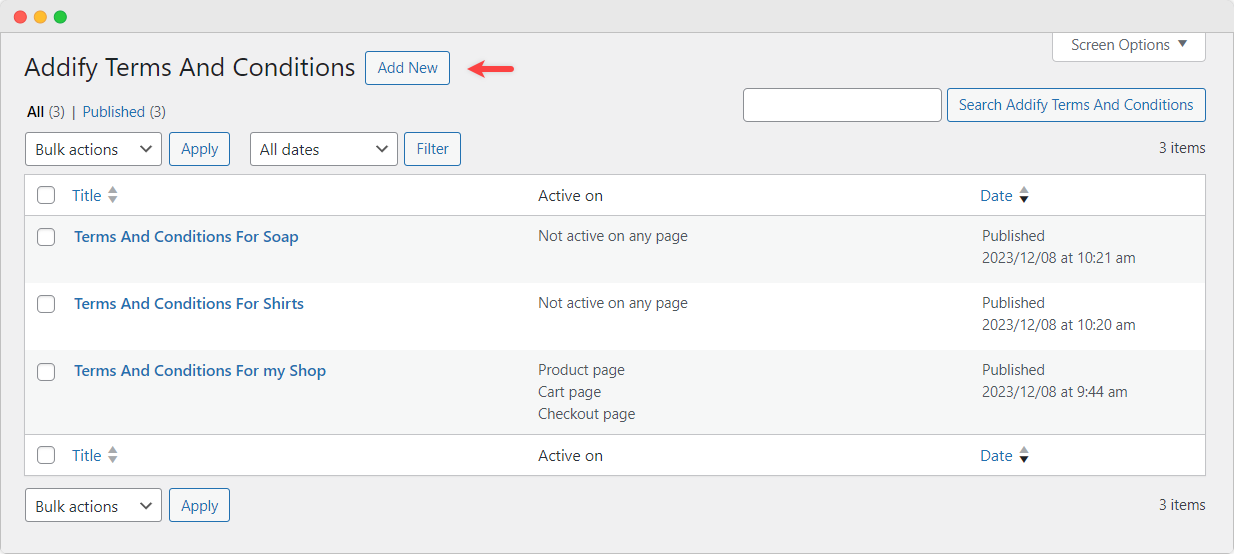
Creating New Terms and Conditions Checkbox:
Once in the Addify Terms and Conditions section, click on “Add New” to initiate the creation of a new terms and conditions checkbox.
You’ll be prompted to provide a title for the new checkbox. Make sure the title is unique and descriptive so you can easily identify it later.
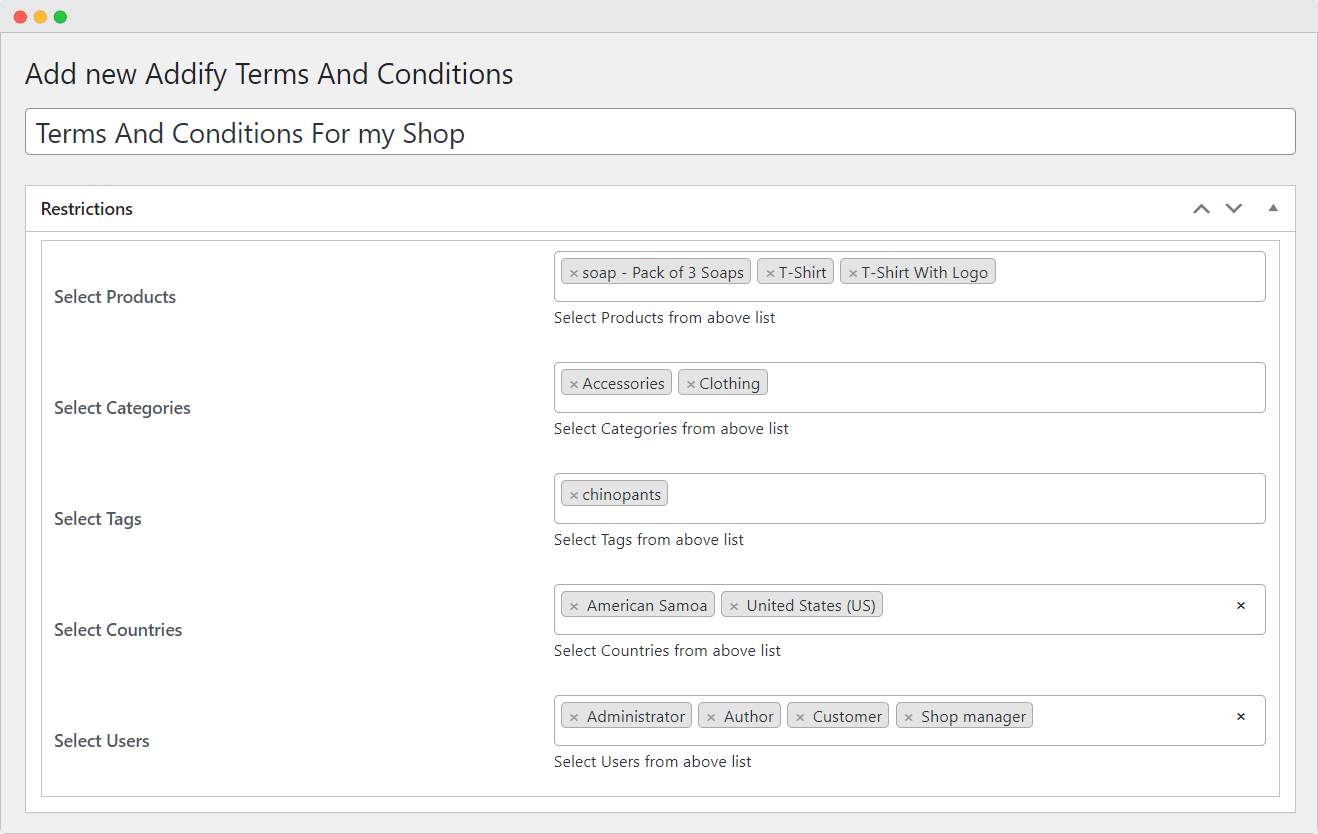
Applying Restrictions to the Terms and Conditions Rule:
After creating the new checkbox, you can apply restrictions to it based on various criteria.
- Select Products: Choose specific products from the list provided. This means the terms and conditions will be applicable only to the selected products.
- Select Categories: Similarly, you can select categories of products to which the terms and conditions will apply.
- Select Tags: If you’ve tagged your products, you can select specific tags, and the terms and conditions will be applicable to products with those tags.
- Select Countries: Specify which countries the terms and conditions will apply to. This can be useful for complying with different legal requirements in various regions.
- Select Users: Choose specific users to whom the terms and conditions will be applicable. This could be useful for applying different terms to different types of customers, such as wholesale versus retail customers.
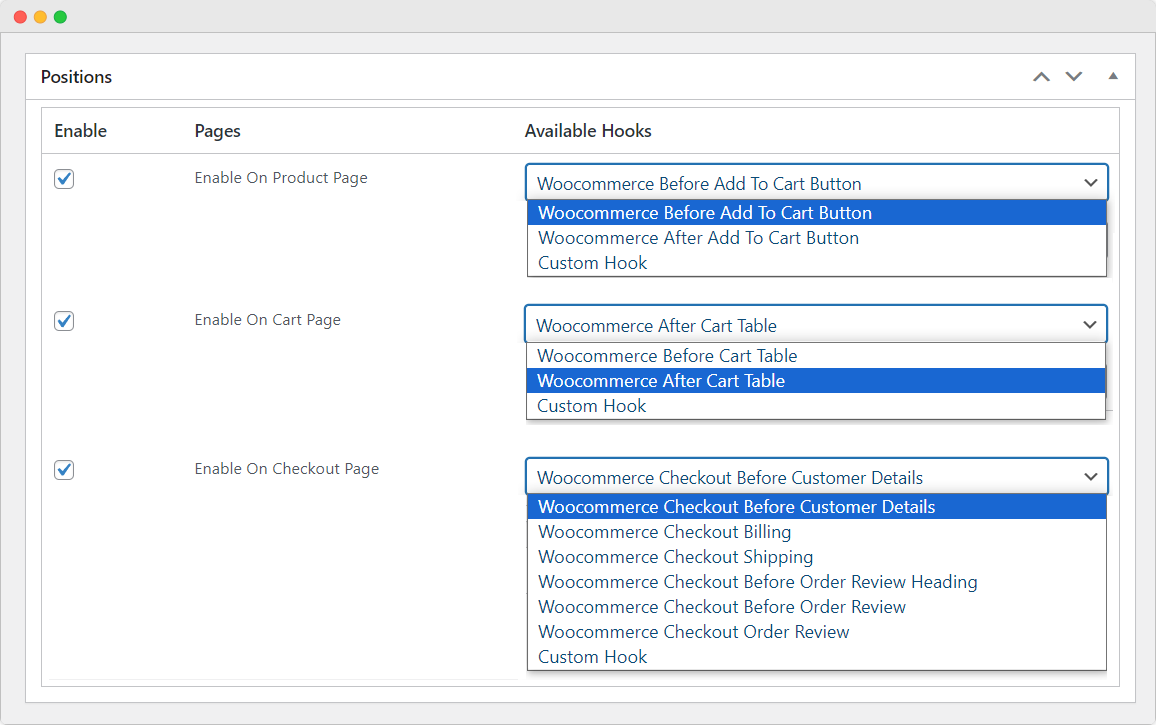
Positioning the Checkbox on Multiple Pages:
Enable the checkbox on different pages:
- On Product Page: Choose placement options such as before or after the “Add to Cart” button, or use a custom hook.
- On Cart Page: Choose placement options such as before or after the cart table, or use a custom hook.
- On Checkout Page: Choose placement options such as before customer details, billing, shipping, order review heading, order review, or use a custom hook.
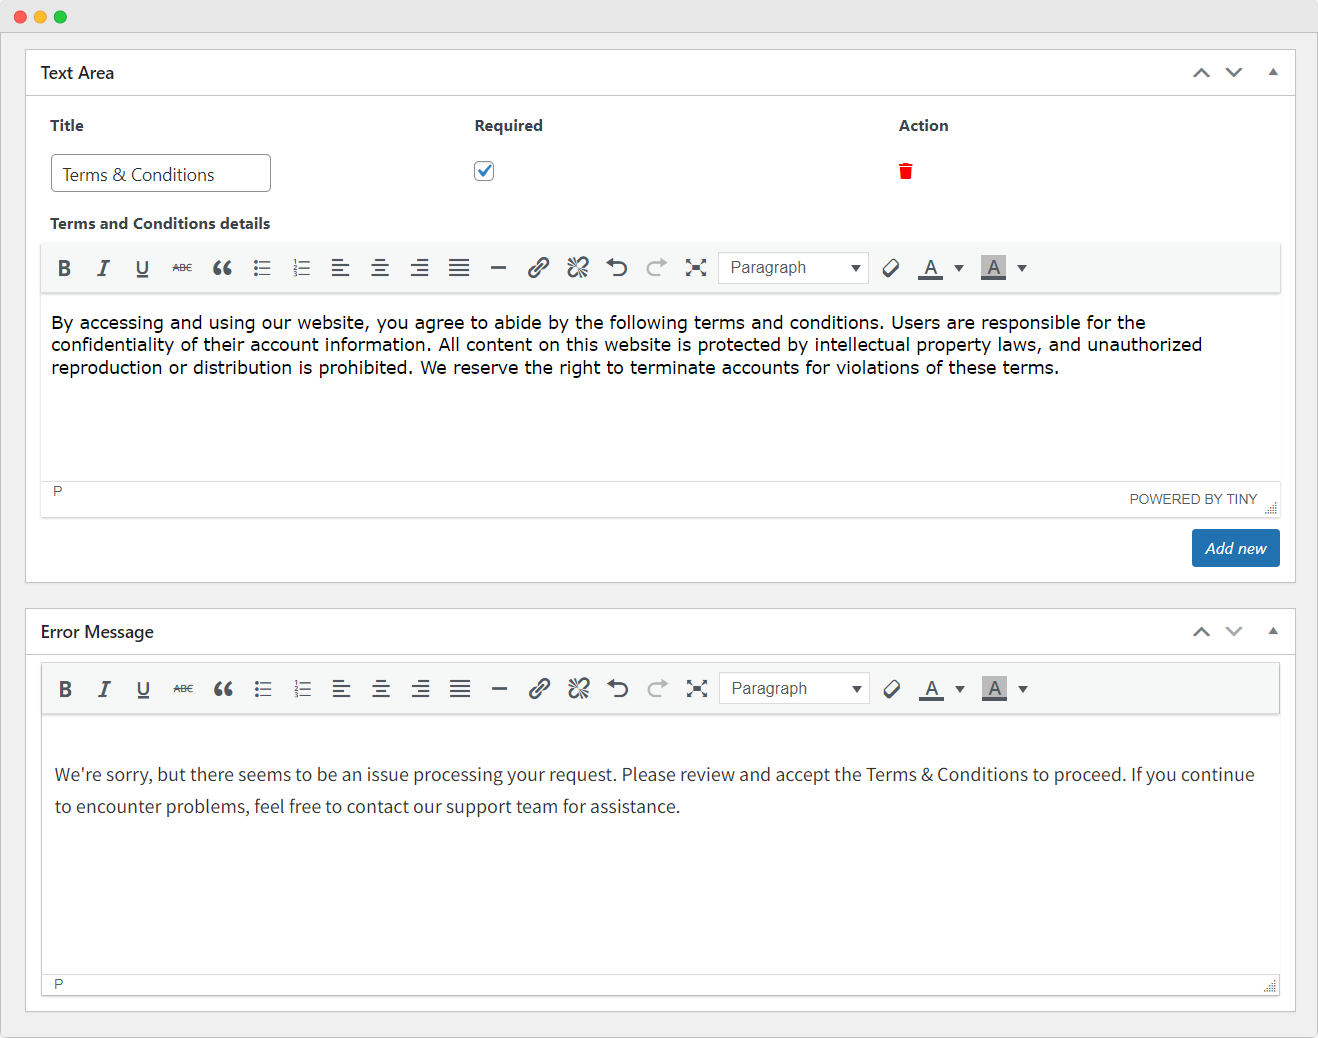
Entering Custom Text for the Terms and Conditions:
- Click on “Add New” in the Text Area to create a new custom text entry.
- Specify a title and mark it as required if necessary.
- Enter the terms and conditions details, providing custom text explaining your store’s policies or regulations.
- Customize the error message that appears if a customer fails to agree to the terms and conditions.
Publishing the New Rule:
After entering all necessary details, click on “Publish” to create the new rule.
By following these steps, you can create multiple terms and conditions rules for your store, customize them based on your requirements, and ensure they are applied appropriately across various pages of your WooCommerce website.