
Enabling Terms & Conditions Checkbox
To enable a Terms & Conditions checkbox on your WooCommerce store, follow these steps:
Installation Guide:
Download the Plugin:
- Obtain the .zip file for the Addify Terms And Conditions plugin from your WooCommerce account.
Upload the Plugin:
- Access your WordPress Admin dashboard.
- Navigate to Plugins and select Add New.
- Choose the option to Upload Plugin.
- Click on the “Choose File” button to select the plugin file you downloaded.
- After selecting the file, click on “Install Now.”
Activate the Plugin:
Once the installation is complete, click on the “Activate” button to activate the plugin.
Activation Guide:
Access Addify Terms and Conditions:
- Go to your WooCommerce dashboard.
- Click on “Addify Terms and Conditions” in the menu.
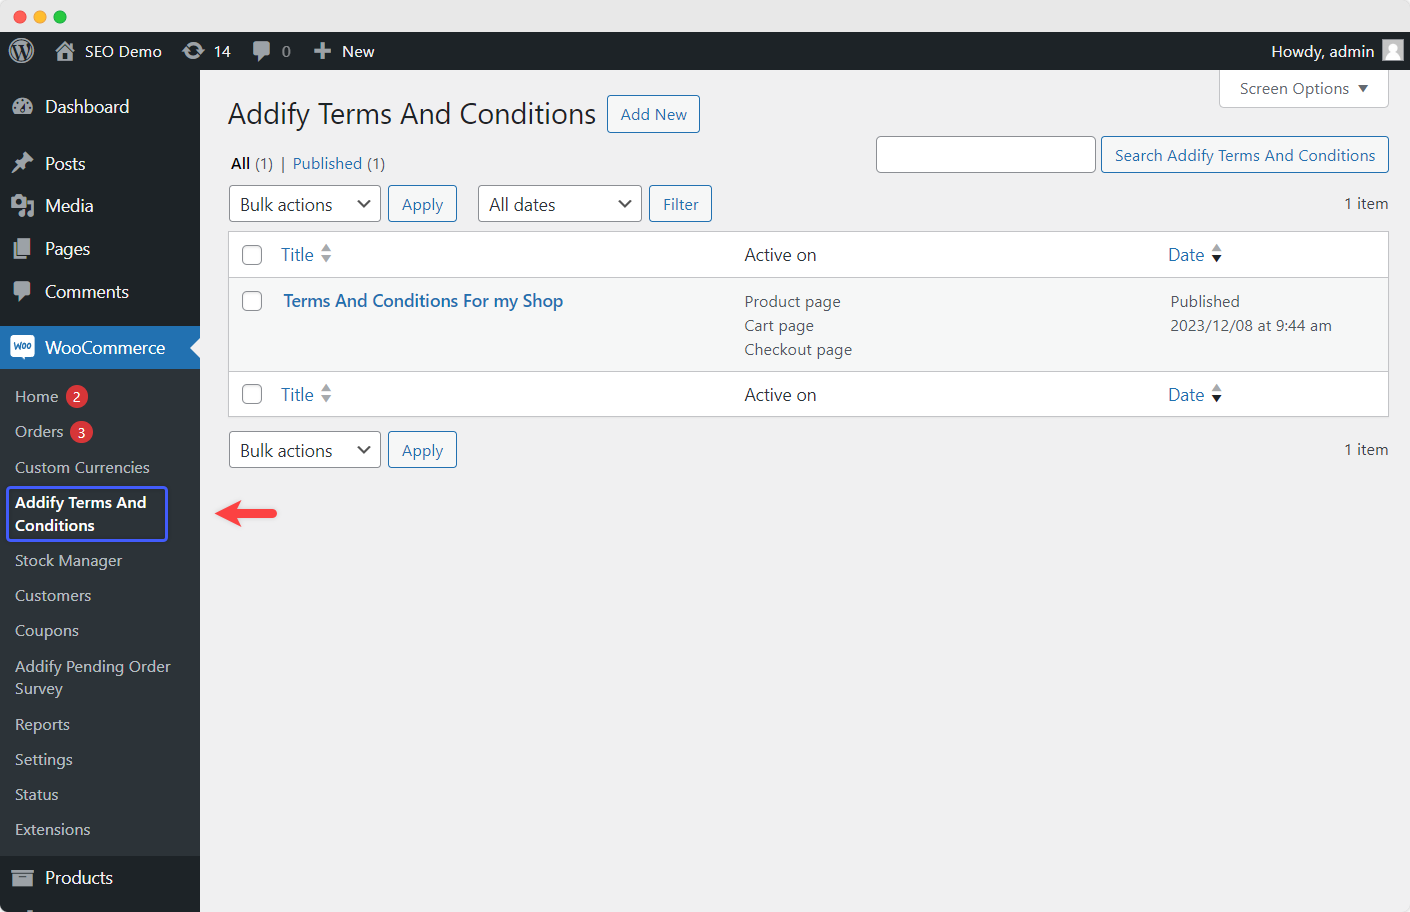
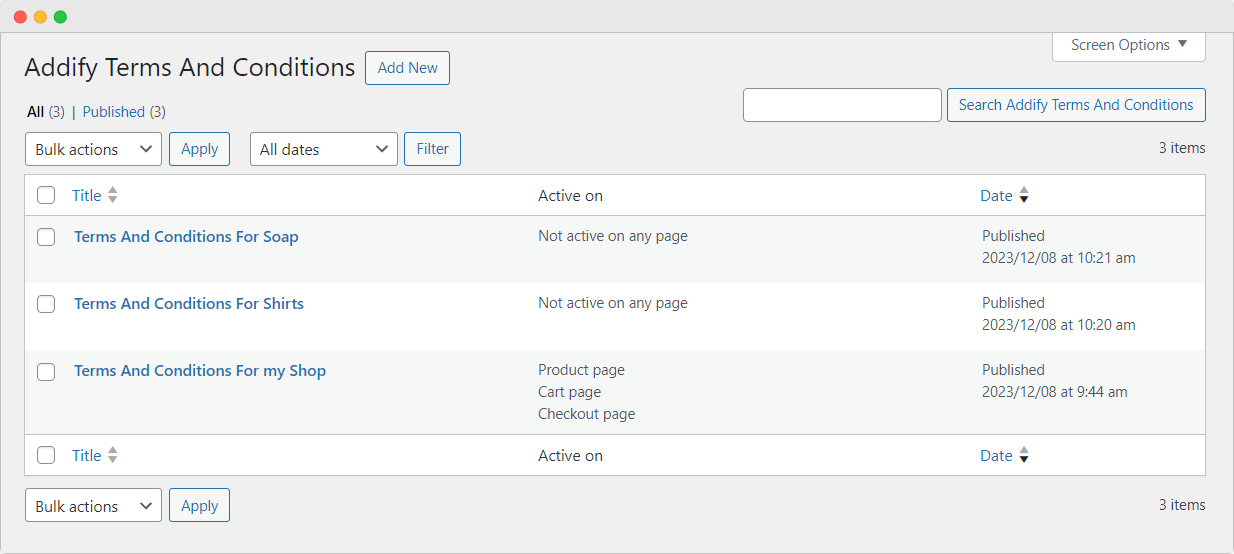
Create and Manage Terms and Conditions:
- Within the Addify Terms and Conditions section, you can create and manage an unlimited number of terms and conditions rules.
- These rules can be applied to your store’s multiple pages as needed.
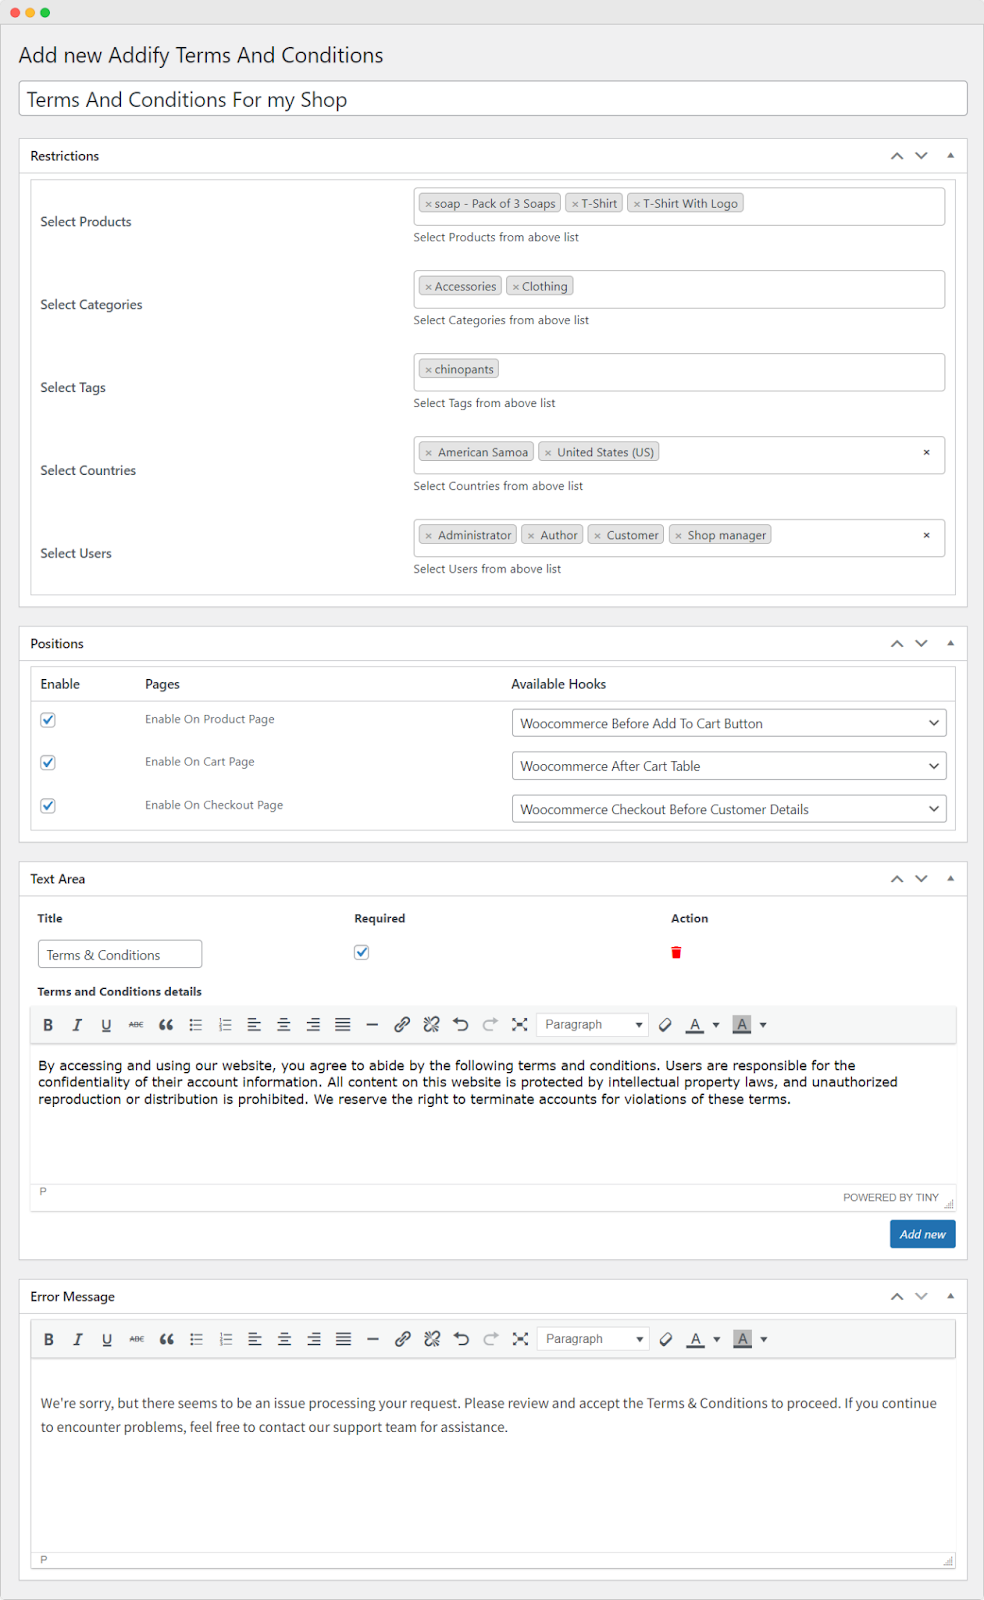
Customize Terms and Conditions:
- Customize your terms and conditions by applying restrictions tailored to your store’s requirements.
- You can add custom text to ensure clarity and compliance with legal standards.
By following these steps, you can enable a Terms & Conditions checkbox on your WooCommerce store and customize it to suit your business needs and legal obligations.