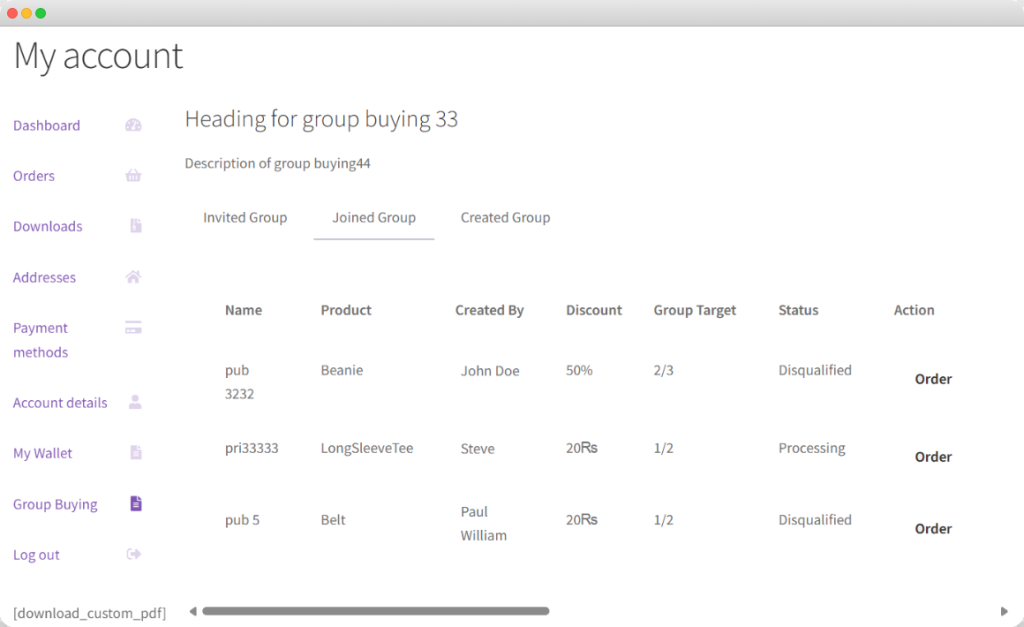
Group Buy Dashboard
In the Group Buy dashboard, you can easily track and view:
- Total Groups: Total number of groups that are created.
- Active Groups: Total number of currently active groups.
- Total Participants: Total number of participants.
- Group Orders: Total number of group orders.
- Top Group Creators: You can highlight the users who create the most groups.
- Top Group Inviters: View the users who invite the most participants.
- Most Active Groups: View the most active and engaged groups.
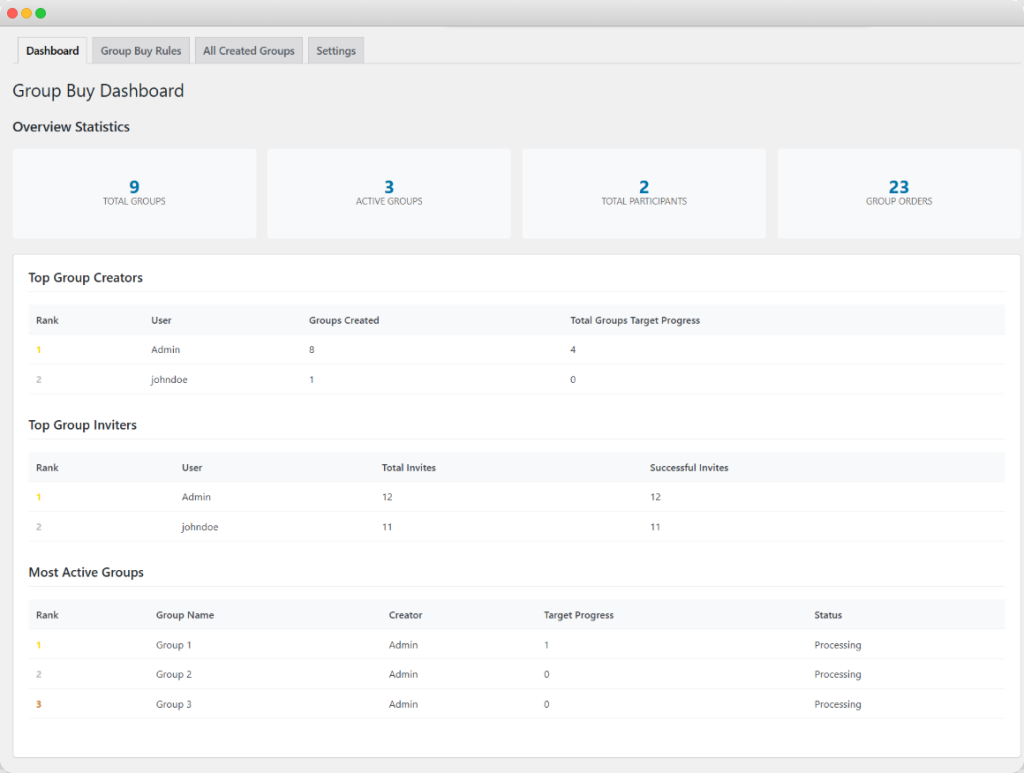
Creating Multiple Rules for Group Orders (Global Settings)
Navigate to WooCommerce > Group Buy > Add Rule and customize the following settings for each rule:

Add Rule:
- Add Title: Add a unique title for the rule for future reference.
Rule Details:
- Public Group: Enable this option for public group creation (any registered user can join).
- Allow Number of Public Group: Set the maximum number of public groups allowed per product.
- Private Group: Enable this option for private group creation (any registered user can join).
- Allow Number of Private Group: Set the maximum number of private groups allowed per product.
- Group Member: Define the number of members required to complete the group.
- Days: Specify the timeframe for group completion to secure a discount.

Restrictions:
- All Products: Enable group buying for all products, or you can limit it to selected products and categories:
- Select Products: Choose specific products for group buying.
- Select Categories: Choose specific categories for group buying.
- Apply to User Roles: Restrict group buying to specific user roles.
- Restrict Countries: Limit group buying to selected countries.
- Quantity Limit: Enable this to restrict customers from purchasing more than the allowed quantity required to complete the sale target.
Adjust Discounts:
- Select Price Type: Apply discounts on regular or sale prices.
- Select Discount Type: Choose the discount type from the two options:
- Percentage: Offer discounts by a percentage value.
- Fixed: Offer discounts by a fixed value.
- Discount Value: Set the discount amount or percentage.
- Group Discount Custom Text: Add promotional text such as “Join and save {discount_value}%!”.
- Group Description: Add a custom group description.

Schedule Rule:
- Starting Date: Set the start date for group purchasing.
- Ending Date: Set the end date for group purchasing.

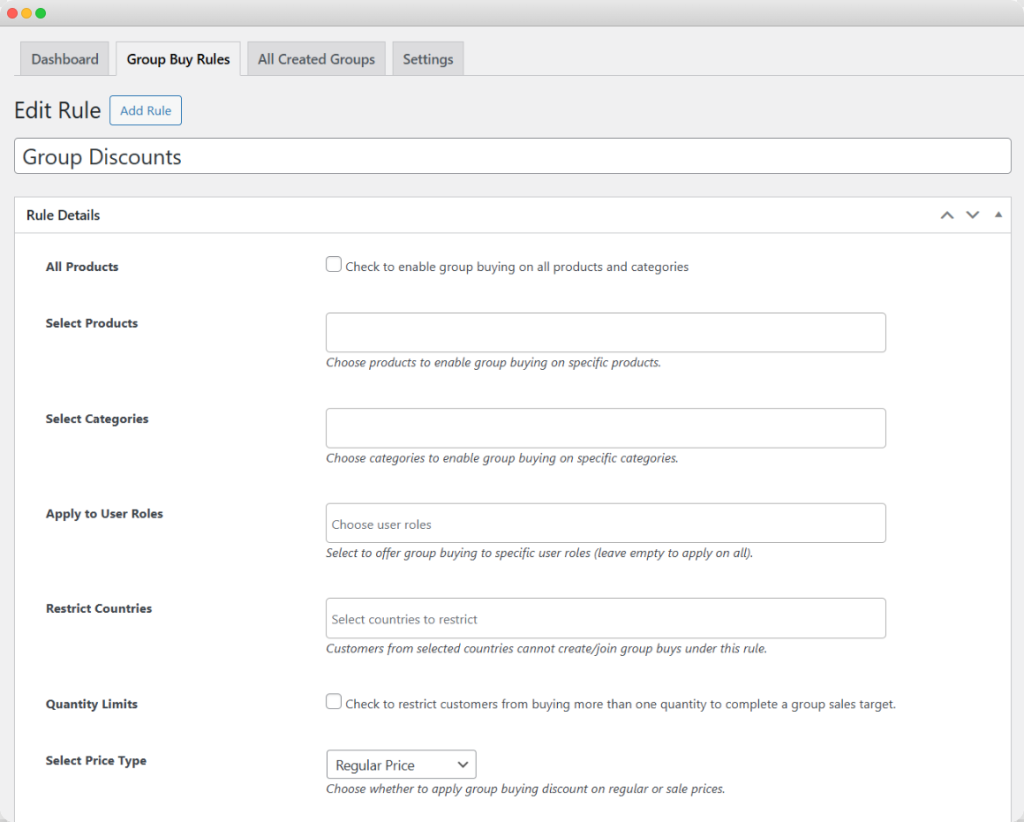
Viewing Group Buy Logs
Go to WooCommerce > Group Buy > All Groups. Here, you can view all the groups you have created in a single log with the following details for each:
- Title: The rule title.
- Group Name: Name of the group.
- Group Target: Total members in the group.
- Status: Current order status.
- Date: Publication date of the group.
Customizing Buttons, Timers, and Payment Methods
Navigate to WooCommerce > Group Buy > Settings. Here, you can customize the button visuals and enable the desired default settings for all the groups. From the settings tab, you can customize the following options:
- Enable The “Group Buy” Tab on the My Account Page: Toggle this option to display the Group Buy tab in the customer’s account dashboard.
- Show Group Creator Name: Enable this option to display the name of the group creator to other users within the group.
- Group Timer: Create urgency by displaying the remaining time to join a group. Choose from two formats:
- Counter Form: Displays the remaining time as a countdown timer in numerical format (e.g., “2 days 4 hours”).
- Text Form: Shows the remaining time as text (e.g., “Available for 2 more days”).

Customizing the Group Buy Button
- Group Buy Button Text: Customize the label on the button, e.g., “Join Group Buy” or “Participate Now.”
- Group Buy Button Text Color: Choose a color that ensures the button text is readable and matches your brand colors.
- Group Buy Button Background Color: Select a background color that stands out and draws attention to the button.

Customizing the Create Group Button
- Create Group Button Text: Customize the text, e.g., “Create Group” or “Start a Group.”
- Create Group Button Text Color: Set the color for the text on the button.
- Create Group Button Background Color: Choose the background color to make the button visually appealing.
- Group Creation Placeholder: Add custom text such as “Purchase from this group to make it public for others.”
- Group Creation Placeholder Text Color: Choose a color that contrasts well with the background.
- Group Creation PlaceHolder Background Color: Select a background color that blends with your website design.

Setting a Default Payment Method & Order Status
- Order Status: Set the default order status for Group Buy purchases.
- Payment Method: Select specific payment methods for Group Buy orders, or leave it empty to show all payment methods.
- Tooltip Description: Provide brief explanations about the Group Buy feature using tooltips
- Add Heading: Enter a title for the tab, such as “Group Buy Deals.”
- Add Description: Provide a brief overview or instructions, e.g., “Manage your group purchases and check current group statuses here.”

Email Settings:
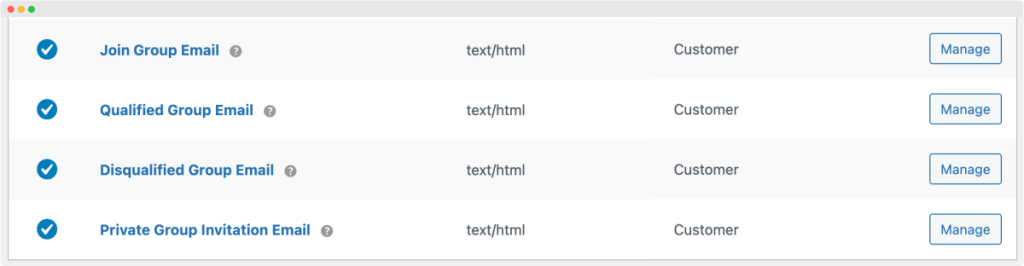
You can easily customize the email notification from WooCommerce > Settings > Emails. To customize the email, you can:
- Open any email to edit its content or override its template.
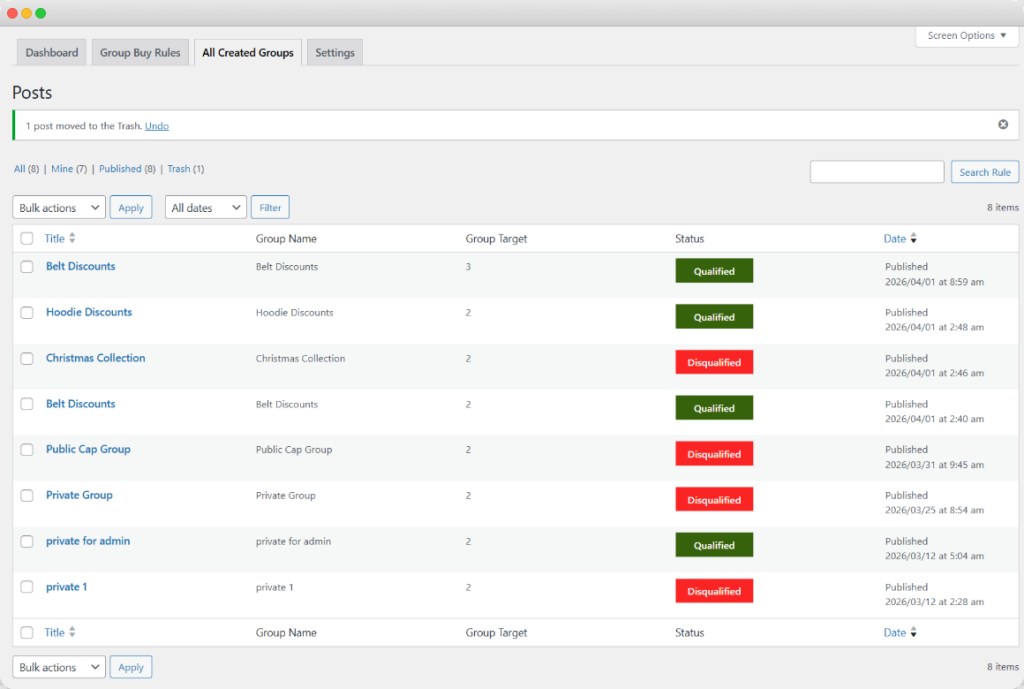
Customer My Account:
In the customer my account, you can view the groups that the customer has created, joined, or has been invited to join. This section appears as soon as the customer joins, creates, or receives an invitation to a group.