
General Settings of PrestaShop Custom Product Fields
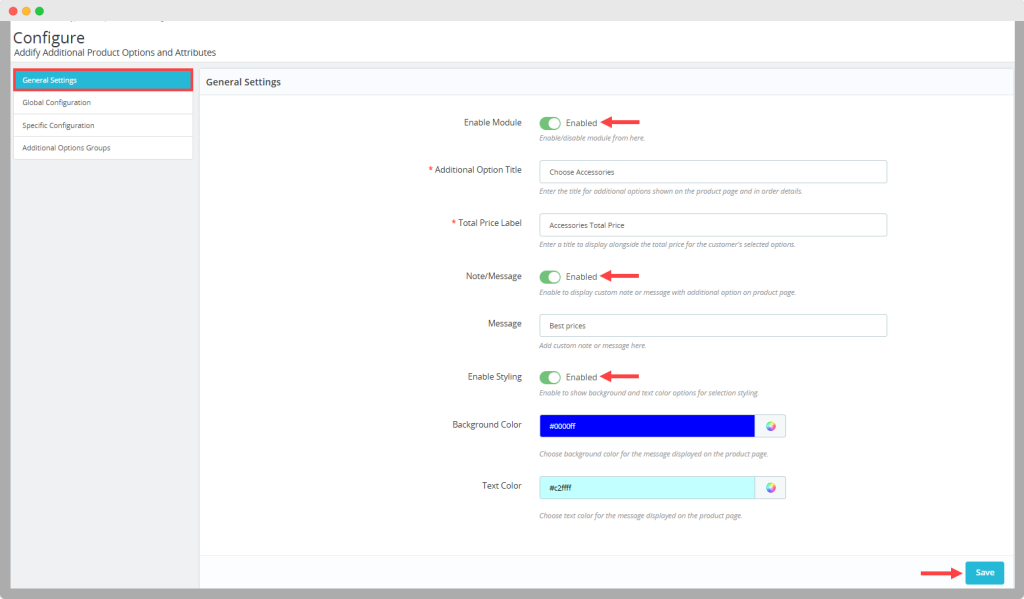
Once you have installed the module. Go to Modules > Module Manager > Addify Additional Product Options and Attributes” and click on “Configure”.
- Enable Module: Click on the option and activate the module. Disable it if you want to keep it deactivated.
- Add Additional Option title: Enter custom title for additional field ( parent heading ) and display it on product & order detail page.
- Enter total price label: Write custom title for price label, and show it next to the total price of the customer’s selected options.
- Enable note/message: Activate the option and choose to display a note or message with additional field.
- Message: Write a custom note here and show it on your product pages
- Enable Styling: Click the option and style the extra options using custom:
- Background color
- Text color
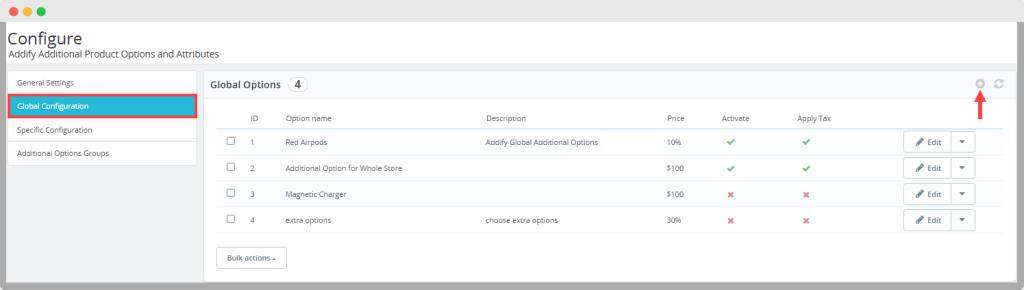
Create and Display Global Product Options
Now, from the main menu, select “Global Configuration”. From this section, you can create unlimited storewide product options and manage them with ease ( this section will only let you create fields; it does not display them until you select them as a group from additional options group setting). To create a new rule, click on “ + and follow these steps:
- Enable Global option: Activate global rule and disable it if you want to keep it deactivated
- Add global name: Give this option a unique name
- Add description: Write a custom description for the option
- Adjust price modes as:
- Fixed amount
- Percentage of product
- Set Price: Now enter desired price or percentage amount
- Enable price with Tax: Choose to make prices inclusive or exclusive of taxes
- Make fields required or optional for the users
- Show image with the field: upload an image here and display it with the field.
- Enable global option scheduling: schedule the rule by adding a custom
- Start date
- End date

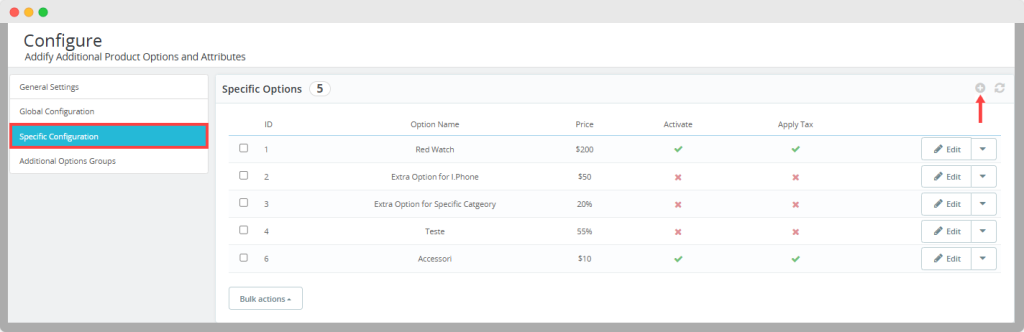
Create Extra Product Options for Specific Products or Categories
From the main menu, select “ Specific configuration”. Here, you can create extra product options for desired products and categories. Click on “+” to add a new rule and follow these steps:
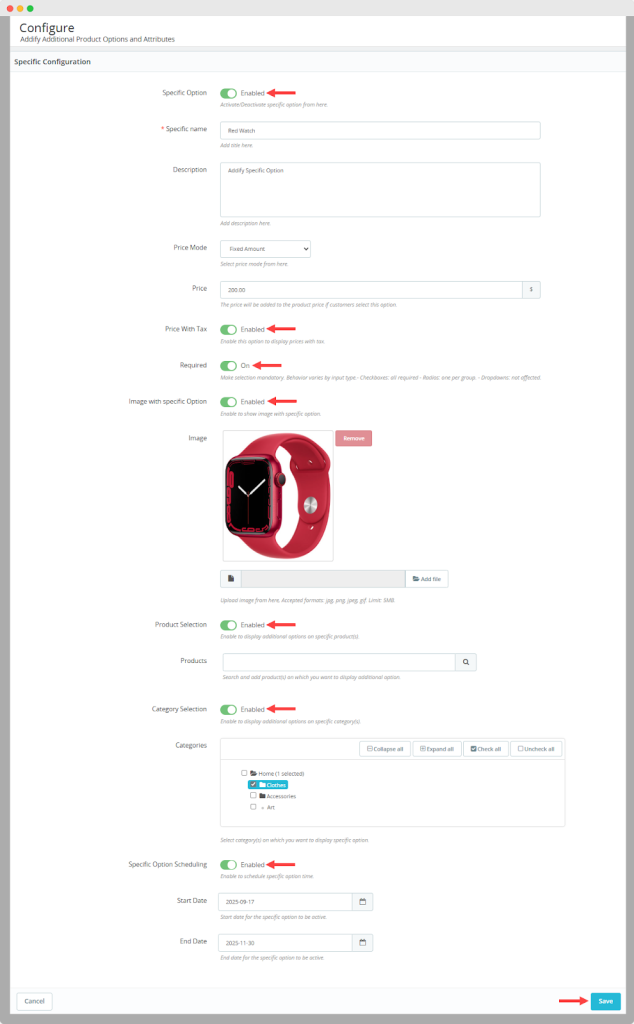
- Enable the specific option rule
- Add specific name: write a unique name for the field
- Add custom description
- Select price mode as:
- Fixed amount
- Percentage
- Set Price: Now add desired amount or percentage price for the field
- Make prices inclusive or exclusive of taxes
- Choose to make this field mandatory or optional for customers
- Assign an image to the field: upload any image describing the field
- Product Selection: Assign this field to any selected product
- Category Selection: select categories on which you want to display this option
- Schedule the rule by adding custom start and end date
Add Additional Option Groups for an Individual Product
Now, to apply all of the created options, you need to select “Additional options group” from the main menu.Now click on “+” to create a new rule:
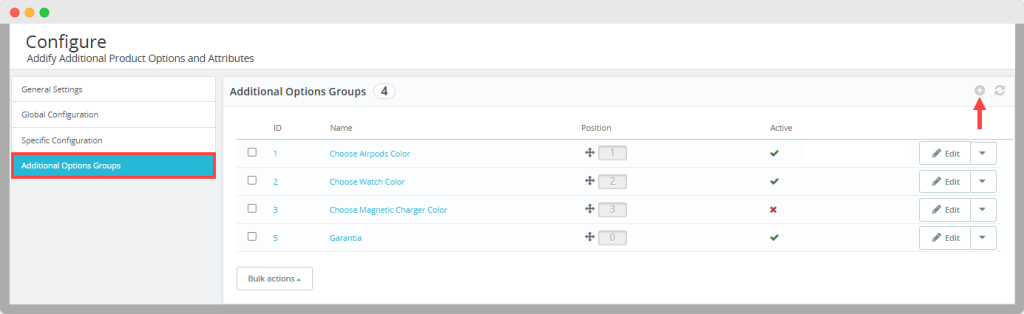
- Enable additional options group
- Add a unique name for the group
- Select additional option display style as:
- Checkbox
- Radio
- Select
- Enable styling: Activate the option and choose to add custom:
- Background color
- Text color
- Choose a field: Here, you can select previously created extra product options from the dropdown and display them as a group in your store.


