
To add product options for an entire category, you can use PrestaShop Custom Input Fields Module. Install the extension, go to its General Settings, and add custom label for the additional option heading. Then click on “Specific Configuration” and create a new rule. Set name, image, price, and desired category. If you want to create more options for the selected category, then create as many rules as you can. Now, to apply the field, go to “Additional Options group” and display the options as a group/bundle. For detailed version follow these steps:
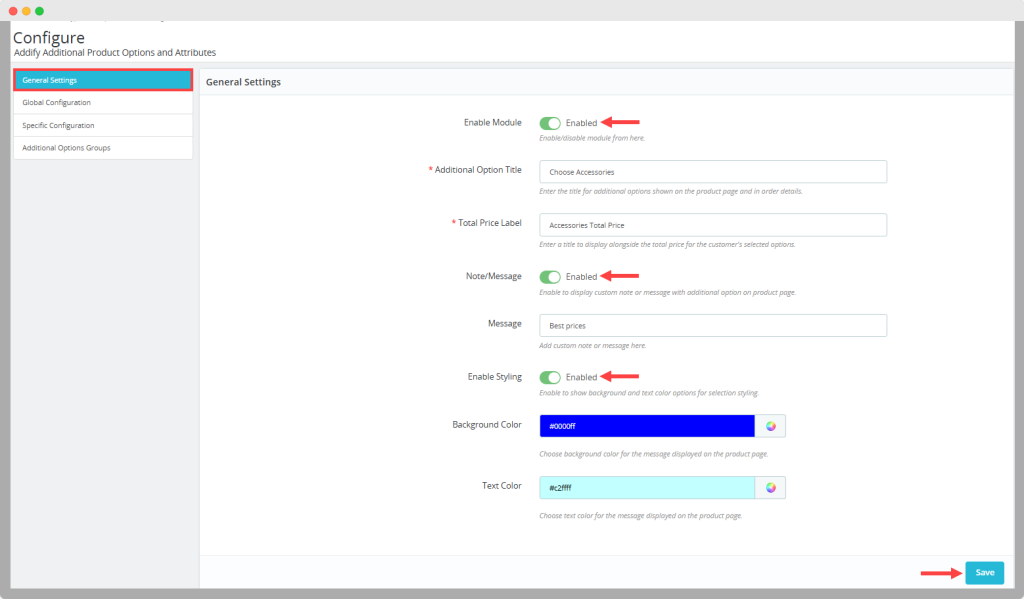
1. Activate the module, go to its General Settings. Here you can add custom label for additional option and set its desired text & background color.
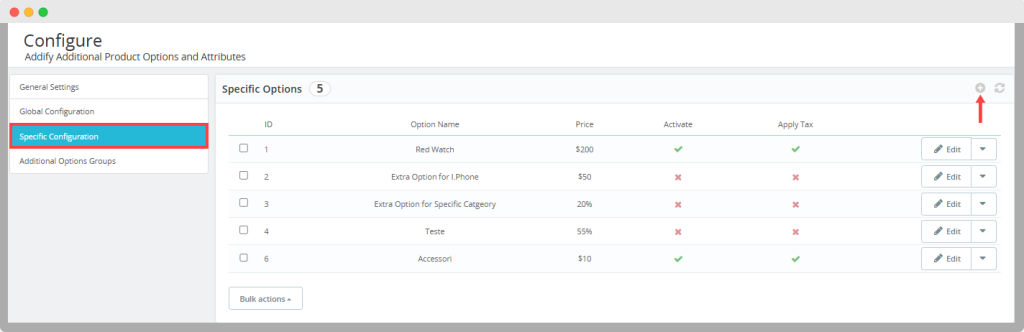
2. Now, from the main menu, click “Specific Configuration”. Here you can create rules and add multiple options for an entire collection. Click on “+” and follow these steps:
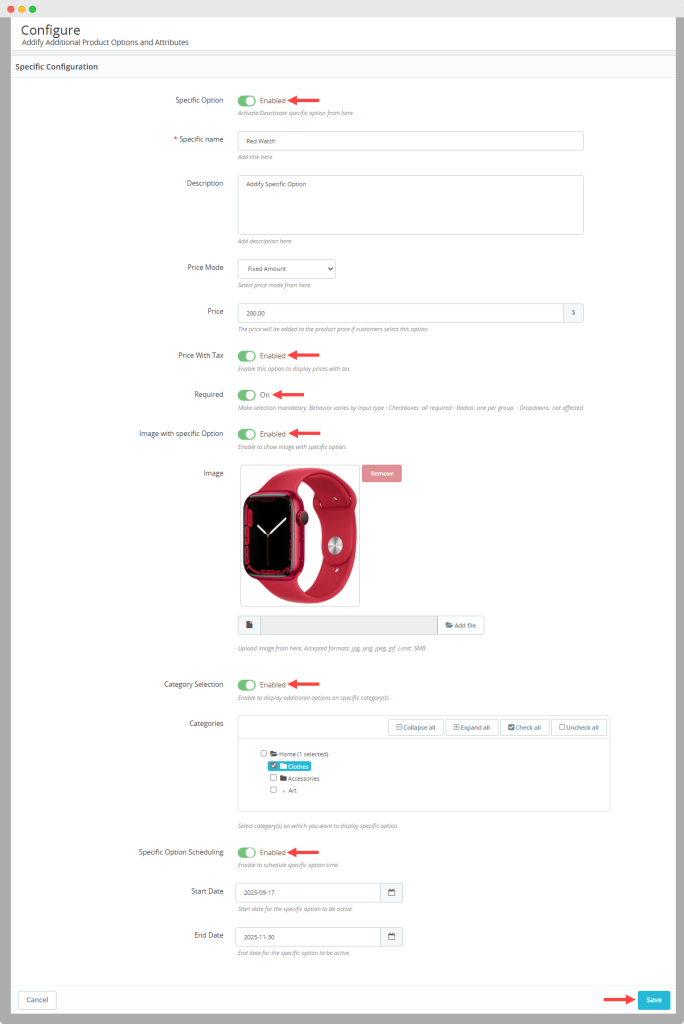
3. Enable specific option, add its name and description. Scroll down and set its price mode as fixed or percentage amount.
4. Make price taxable/non-taxable and choose to set this optional mandatory or optional for users.
5. Add an image for the field and enable “Category Selection”. Select the category for which you are creating this option and click on save.
6. To display the newly created option, go to “Additional Options Group” and click on “+”. Add group name and select its display style as:
- Checkbox
- Radio
- Select
7. Now scroll down, go to “Choose a Field and from the dropdown select the option you just created and click on Add Field.