
Creating and Hiding Multiple Menus by User Roles
To create and hide multiple menus based on user roles in WooCommerce, you can follow these steps:
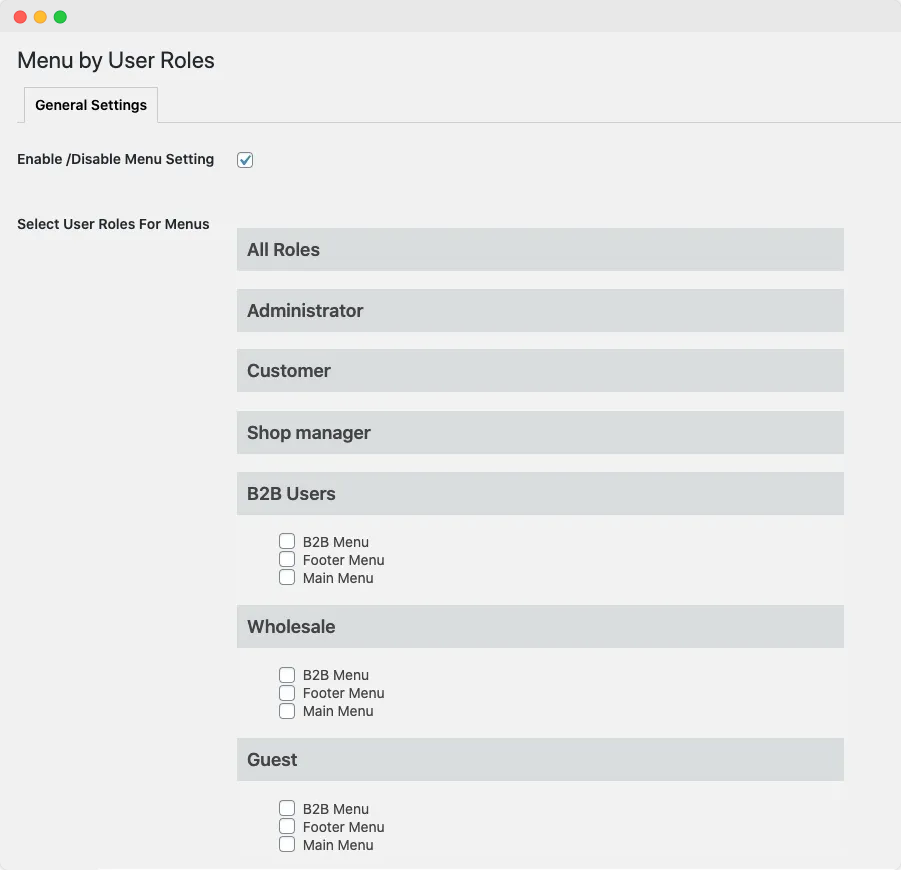
In the WP Admin Panel, go to “Settings” and select “Menu by User Roles.”
Enable/Disable Menu Settings: Mark this to activate menu by user roles
Select User Roles for Menus: Customize menus for individual user roles by checking the relevant boxes. You can tailor menus for a wide range of user roles, ensuring a unique experience for each. The options include:
- All Roles
- Administrator
- Editor
- Author
- Contributor
- Subscriber
- Customer
- Shop Manager
- Wholesale
- B2B
- Retailer
- Guest
Click “Save Changes” to apply the new settings.
Set Menu Visibility for Individual Items
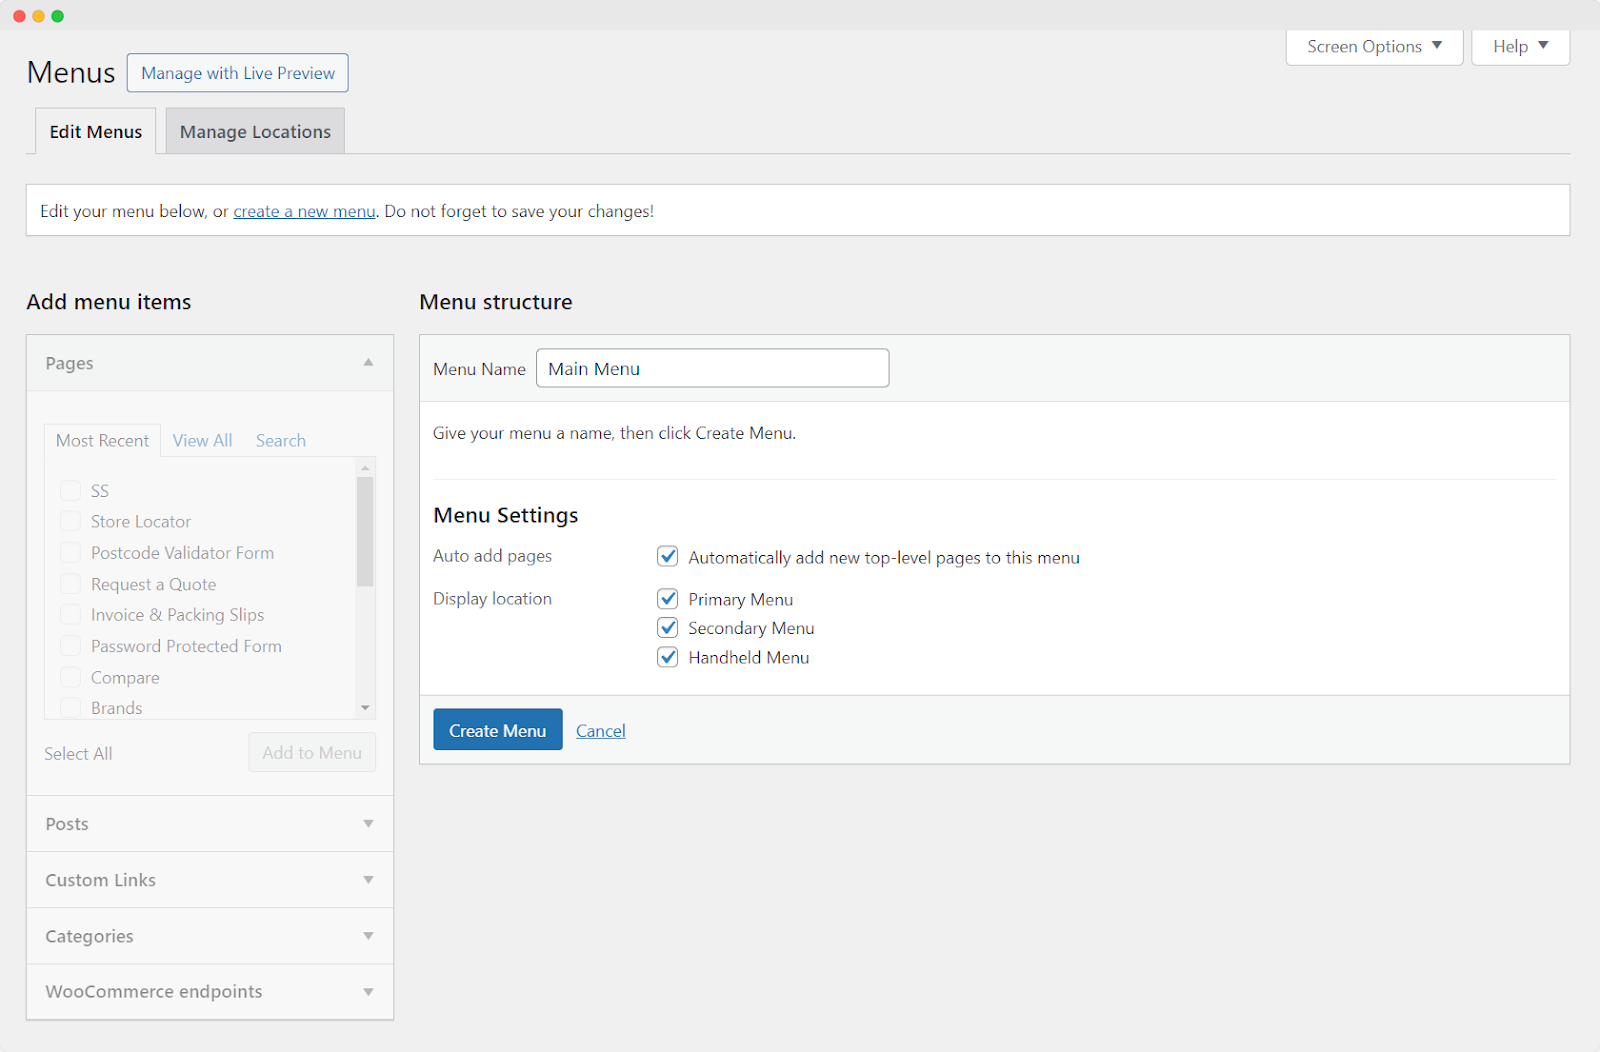
Next, go to “Appearance” and select “Menus.”
In the menu editing interface, you’ll find a checkbox option for each menu link that lets you designate it for specific user roles. Please be aware that if you opt not to select any user role, the menu item will be visible to all customers by default.
Save Changes:
After assigning menus to user roles and setting the visibility for individual items, don’t forget to save the changes.
Note: Make sure you have correctly set up user roles in WooCommerce before using this plugin.
Always test the functionality on a staging site before implementing it on a live website.
By following these steps, you can create and hide multiple menus based on user roles in WooCommerce.