Restricting Menus by User Roles
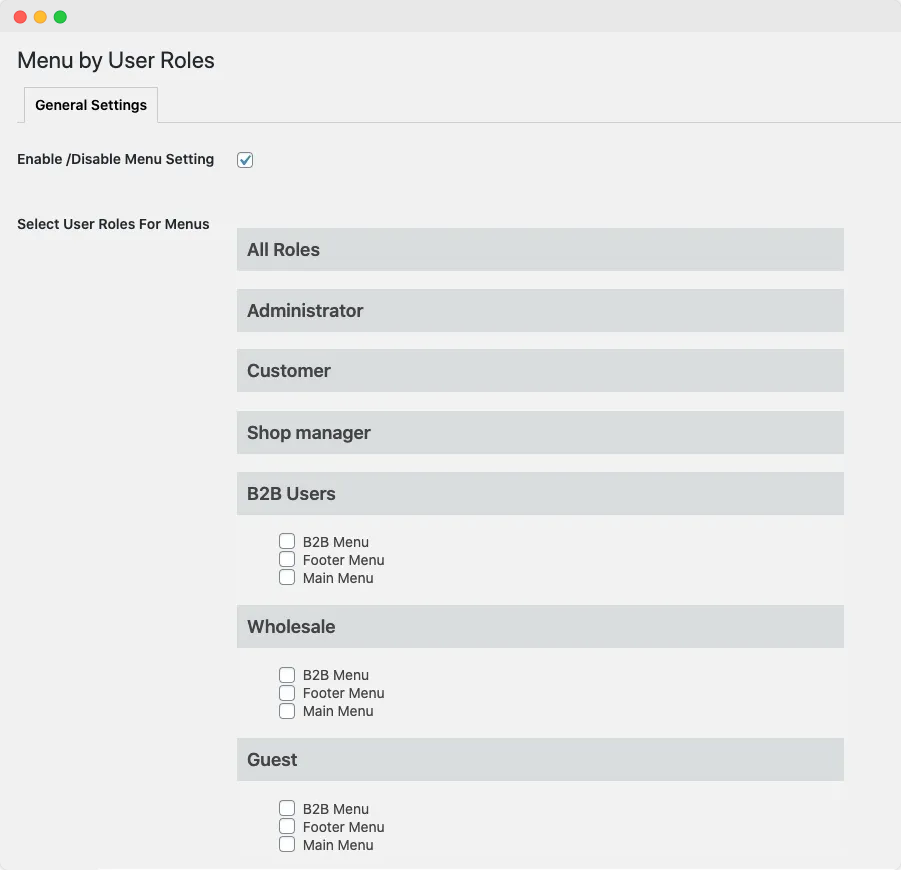
Configuring General Settings
Enable/Disable Menu Settings: Mark this to enable the menu by user roles functionality
Select User Roles for Menus: Customize menus for individual user roles by checking the relevant boxes. You can tailor menus for a wide range of user roles, ensuring a unique experience for each. The options include:
- All Roles
- Administrator
- Editor
- Author
- Contributor
- Subscriber
- Customer
- Shop Manager
- Wholesale
- B2B
- Retailer
- Guest
After selecting your preferred user roles, click “Save Changes” to apply the new settings.
Limiting Menu Item Visibility Based on User Roles
If you haven’t set up multiple menus and wish to control individual links in the menu based on user roles, you can achieve this by going to the “Appearance” section and selecting “Menus.” Within the menu editing interface, you will notice that each menu link now includes a checkbox option that allows you to assign it to particular user roles.
Note: If you choose not to select any user role, the menu item will be displayed to all customers by default.
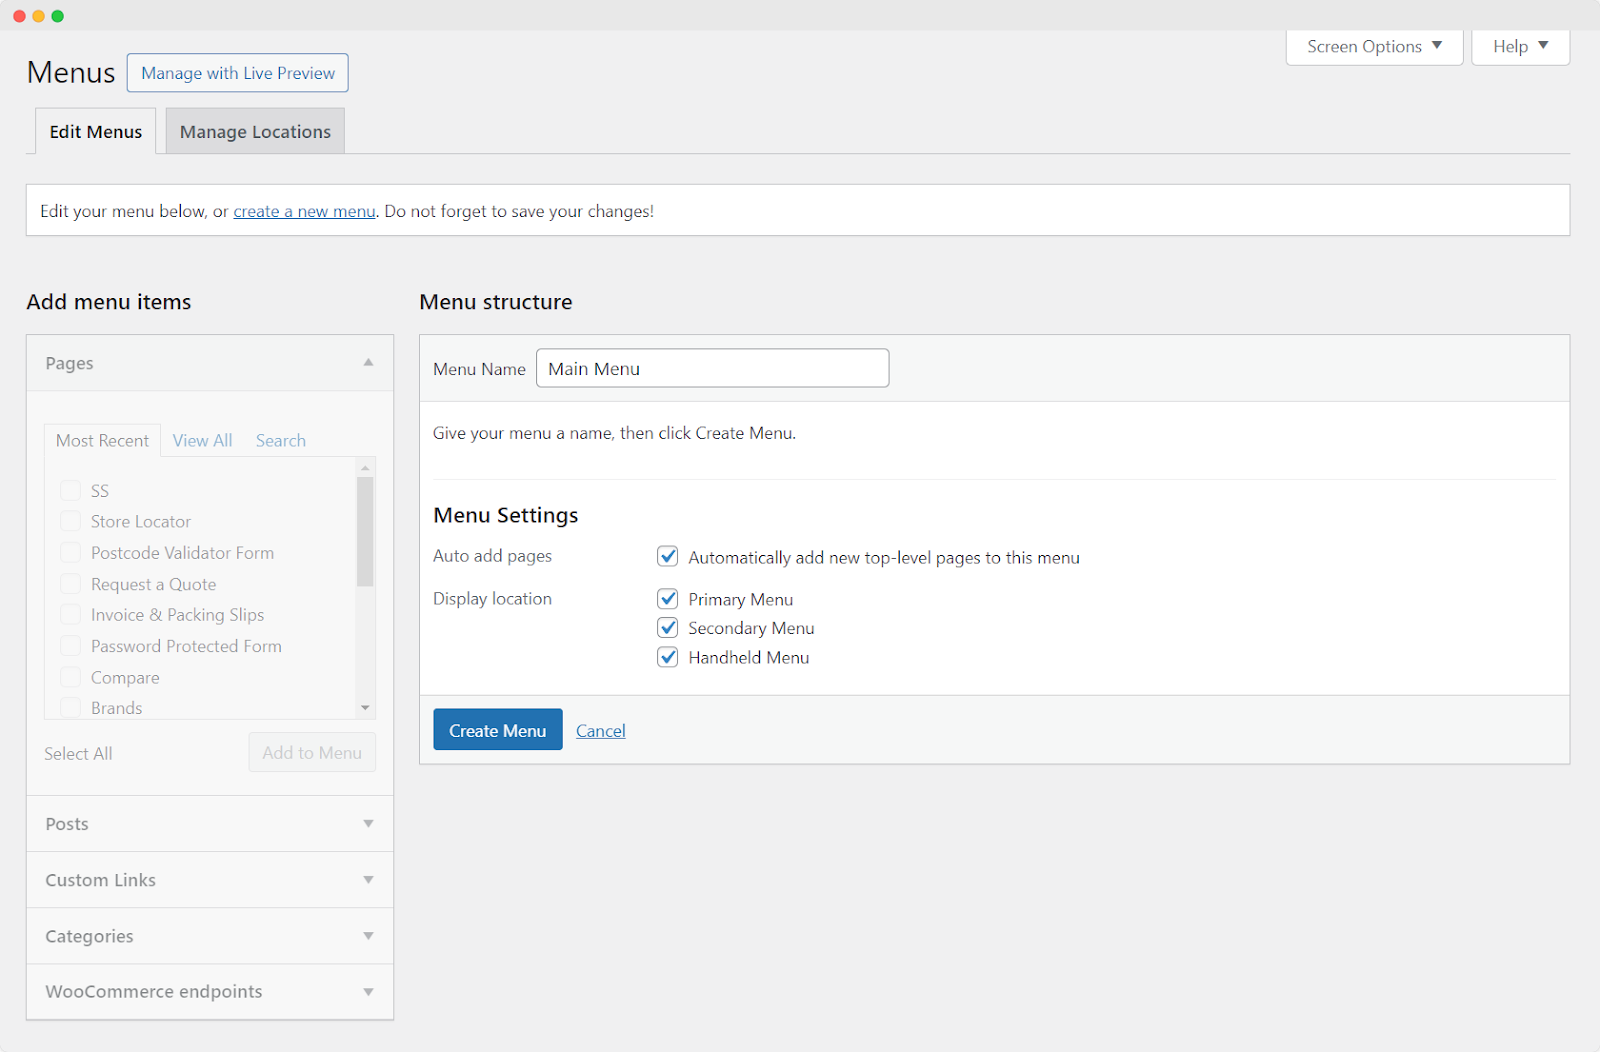
Creating A New Menu
Navigate to Appearance > Menus.
Click on the “create a new menu” option in the Edit Menus tab. Configure the following options to customize the menu according to your unique requirements:
Menu Name: Assign a unique name to your new menu.
Next, click the “Create Menu” button to initialize your menu structure.
Menu Settings: Configure the menu settings
- Auto add pages: Enable this to add any newly created top-level pages to this menu
- Display location: Specify where the menu will be displayed on your website
- Primary Menu
- Secondary Menu
- Handheld Menu
Finally, click the “Save Menu” button to save the changes you’ve made to your menu structure.