
Displaying a Physical Product Availability
To display physical product availability on a product page using the WooCommerce Store Locator plugin, follow these steps to configure the settings:
Log in to your WordPress Admin Panel.
Look for “Store Locator” in the menu and click on “Configurations.”
Configure General Settings:
Enable Product Availability: Choose whether to enable or disable this feature on the product page.
Product Availability Heading: Specify the heading for product availability, which will be displayed on the product page.
Product Availability: Choose the position where you want to display the product availability information. Options include:
- After Add to Cart
- Before Add to Cart
- Before Summary
- After Summary
- In Tab
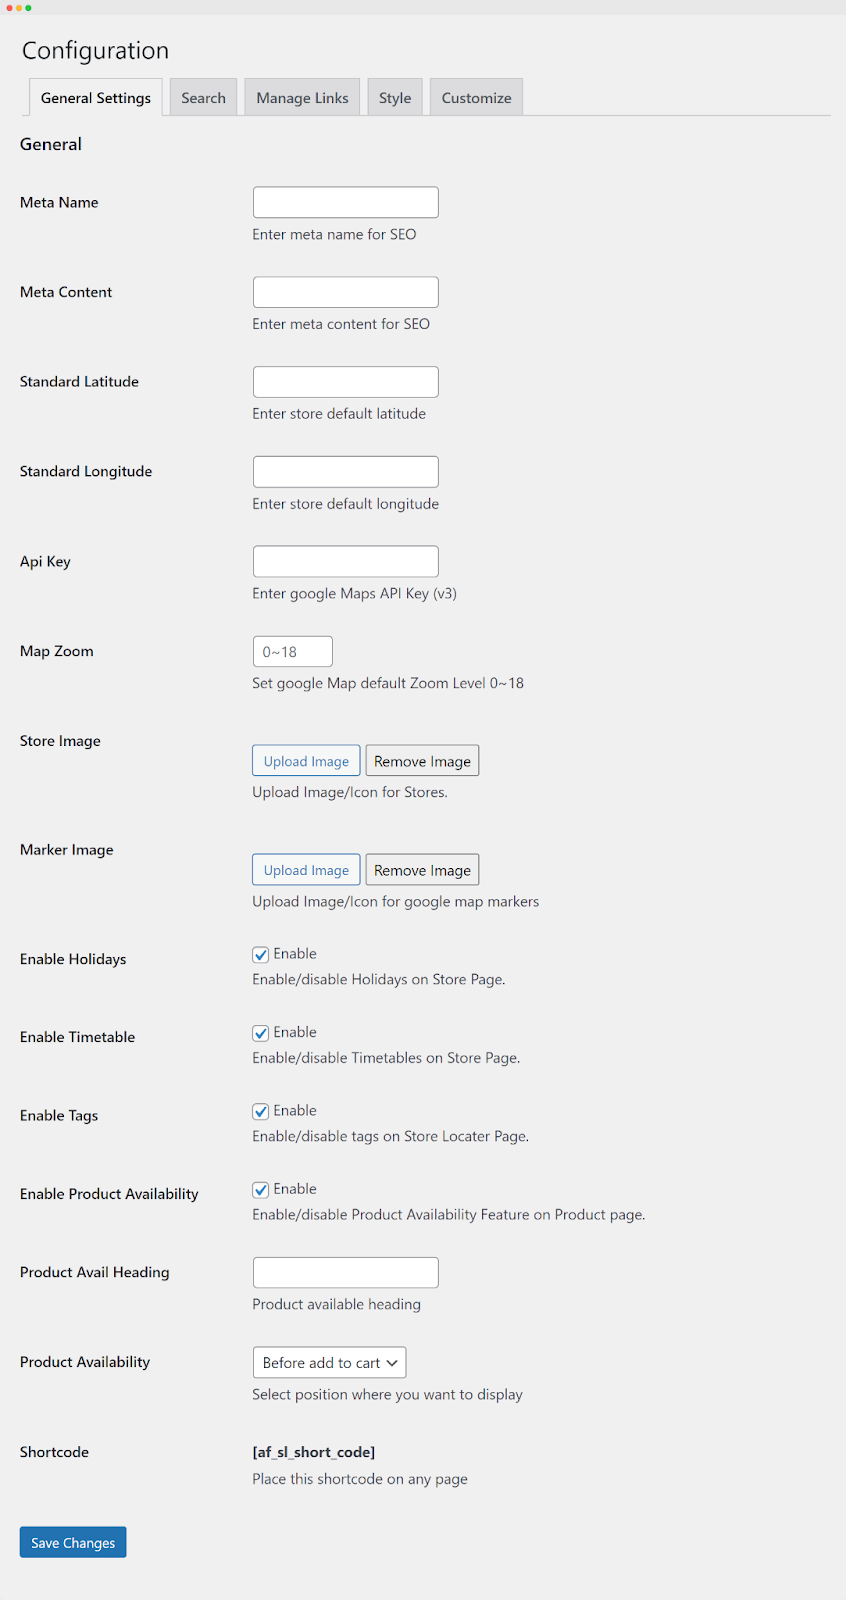
Save Changes:
After configuring these settings, scroll to the bottom of the page and click on the “Save Changes” button to apply the changes.
By following these steps, you have configured the WooCommerce Store Locator plugin to display physical product availability on the product page according to your specified settings. Users will now see information about the availability of the product in the chosen position on the product page.