
Showcasing Working Hours for Each Store
To showcase working hours for each store on the Store Details Page with the WooCommerce Store Locator plugin, follow these steps:
Log in to your WordPress Admin Panel.
Look for “Store Locator” in the menu and click on “Timetable.”
Add a New Store Timetable:
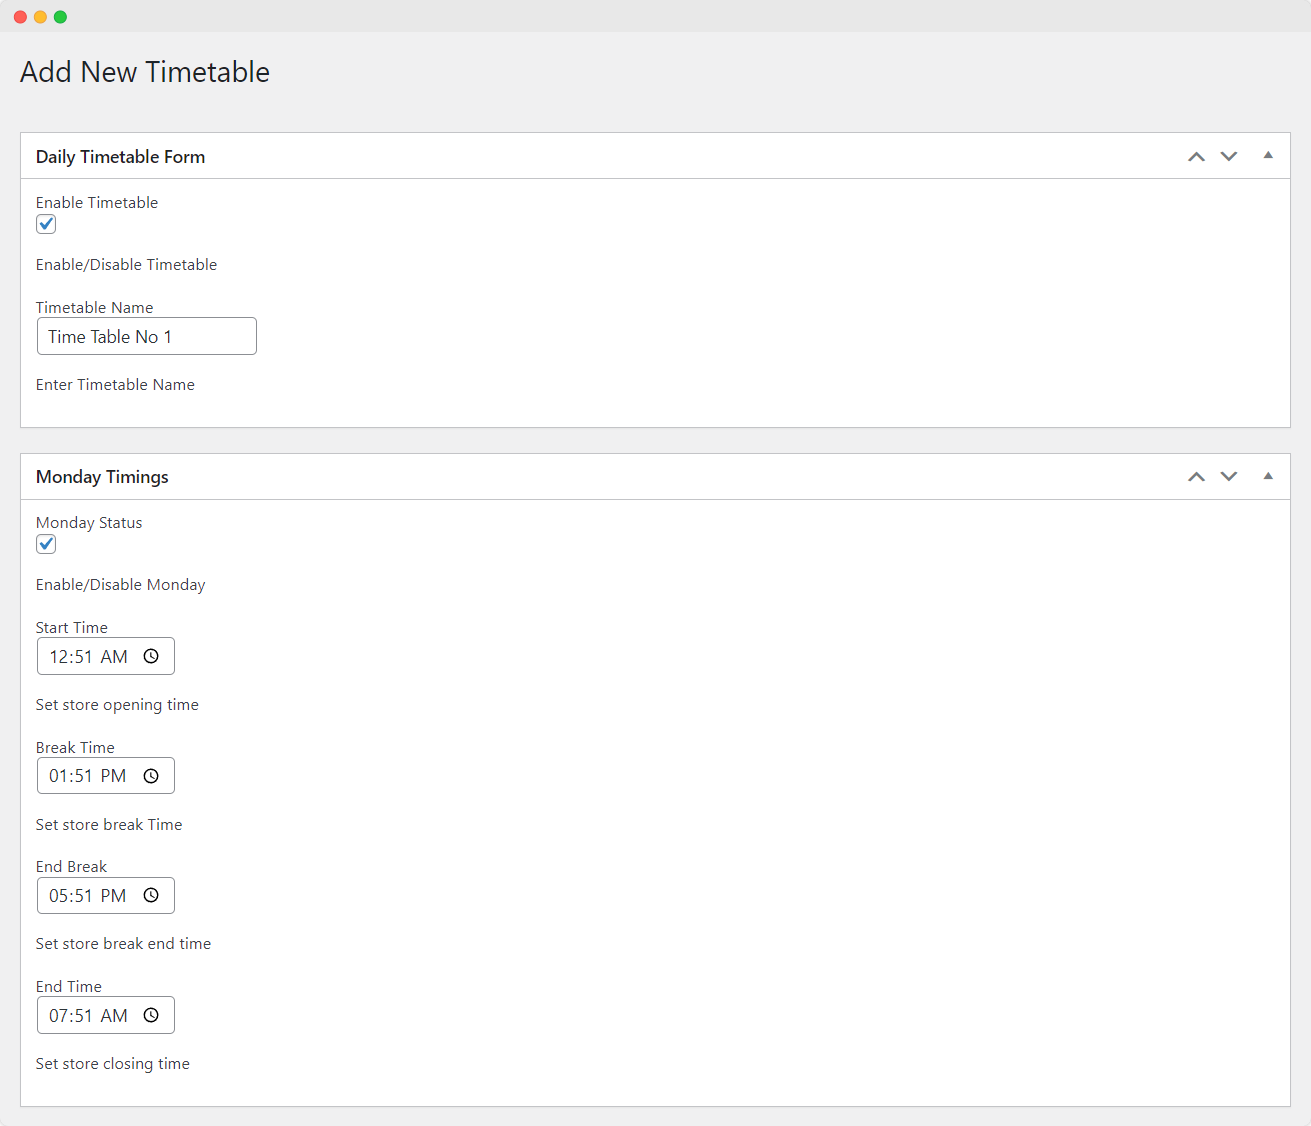
To add a new store timetable, click on the “Add New” button. Fill in Daily Timetable Information.
Enable Timetable: Choose to enable or disable the timetable on your store.
Timetable Name: Enter a custom name for the timetable.
Configure Timings for Each Day: For each day of the week (Monday through Sunday), follow these steps:
- Day Status: Enable or disable the specific day from the timetable.
- Start Time: Set the opening time of the store for that day.
- Break Time: Set the break time for the store on that day, if applicable.
- End Break: Set the time when the break ends.
- End Time: Set the closing time for the store on that day.
Repeat the above steps for each day of the week.
Save the Timetable:
Once you have filled in the necessary information for each day, click on the “Save” button to create the new store timetable.
By following these steps, you can showcase the working hours for each store on the Store Details Page using the WooCommerce Store Locator plugin. Customers will be able to see the store’s daily timetable, helping them plan their visits accordingly.