
Applying Cron Job to Schedule Order Completion
To schedule the order completion process by applying for a cron job in WooCommerce, follow these steps:
Log in to your WooCommerce admin dashboard.
Navigate to WooCommerce and click on Settings.
In the Settings menu, select AutoComplete Orders.
Enable Cron Job: Toggle the switch or checkbox to enable the cron job functionality.
Add Intervals: Specify the schedule for the cron job to apply to orders. This could be in the form of intervals, such as every hour, daily, or a custom schedule.
Set the frequency that best suits your order processing needs.
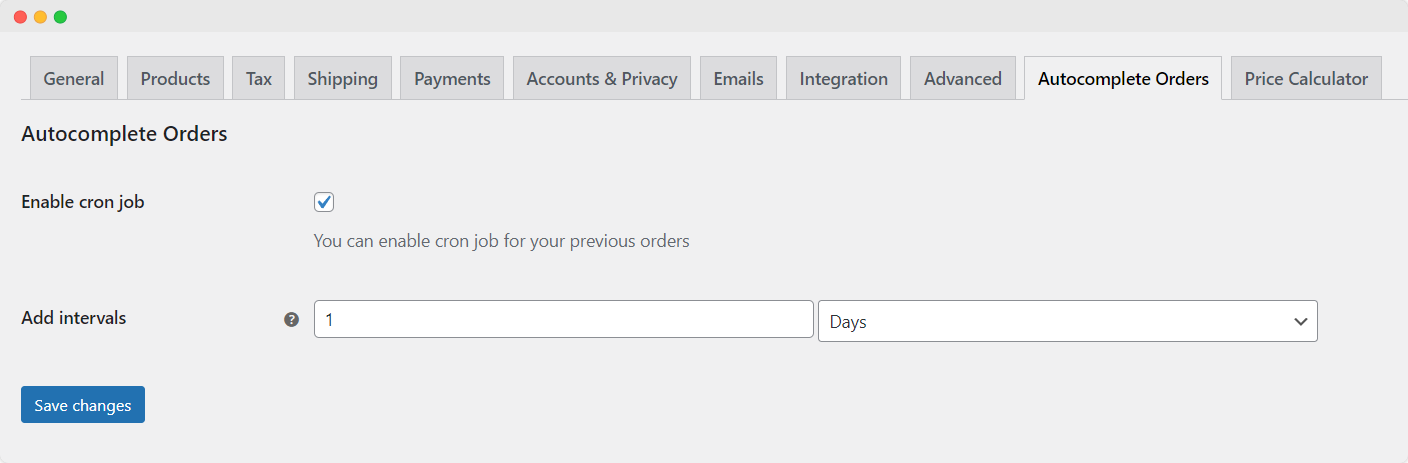
Save Changes:
After enabling the cron job and setting the intervals, scroll to the bottom of the page.
Click on the “Save Changes” button to apply your configurations.
By following these steps, you have configured a cron job in WooCommerce to automate the order status updates for previous orders based on the schedule you specified. The cron job will regularly run at the intervals you defined, automatically completing orders that meet the criteria set in your AutoComplete Orders rules.
This automation helps streamline your order processing workflow, ensuring that orders are completed and updated in a timely manner without manual intervention.