Adding Shipment Tracking Information
To add shipment tracking information to the order details section on the My Account page in WooCommerce, follow these steps:
Install and Activate the WooCommerce Order Tracking Plugin:
Ensure that you have the WooCommerce Order Tracking Plugin installed and activated on your WordPress site.
Enable Carrier Companies:
Go to your WordPress admin dashboard.
Navigate to WooCommerce > Order Tracking > Carrier Companies.
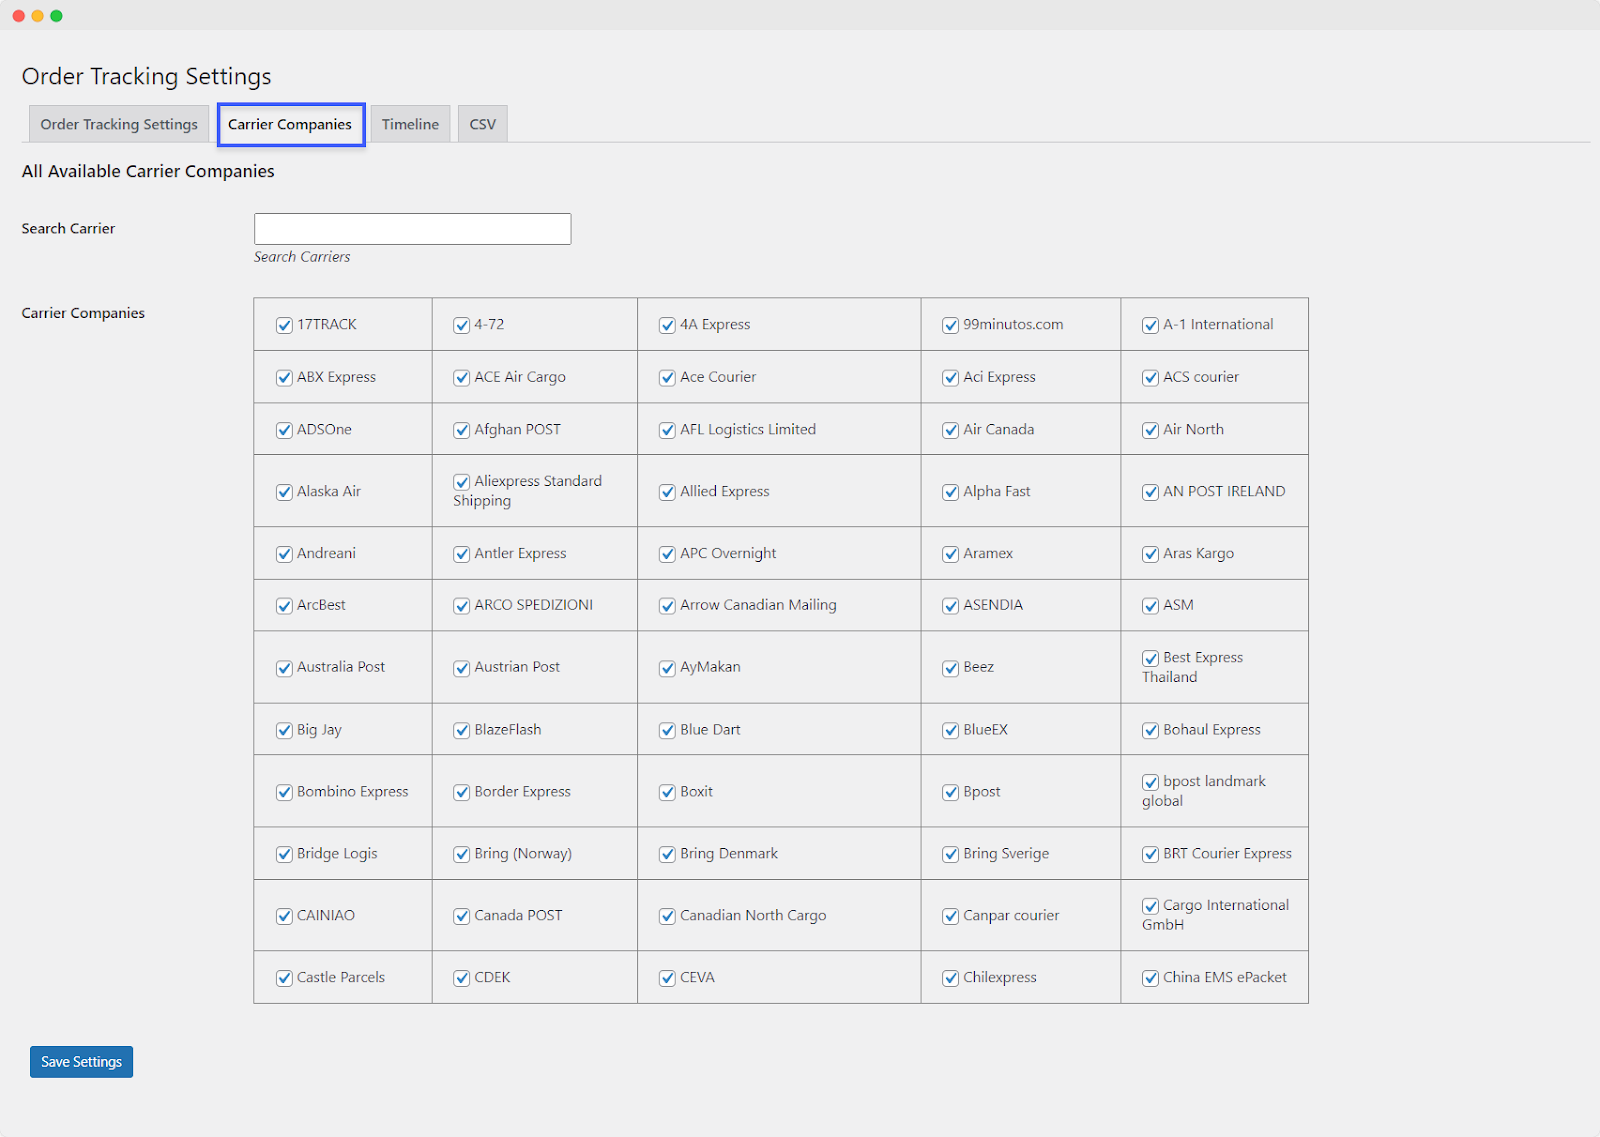
Select Carrier Companies
In the “Carrier Companies” section, you can choose the carrier companies you want to enable for tracking. Here’s how:
Review the List of Available Carrier Companies:
You’ll see a list of all available carrier companies provided by the plugin.
Enable Desired Carrier Companies:
Use the checkboxes next to each carrier company to checkmark the ones you wish to enable for order tracking.
Use the Search Bar:
If you have many carrier companies and need to find a specific one, you can use the search bar to look for the desired carrier company.
Save Your Changes:
Once you’ve selected the carrier companies you want to enable, make sure to save your changes.
Now, when customers log in and access the “My Account” page on your WooCommerce site, they will be able to view shipment tracking information for their orders, including the carrier company and tracking details associated with each order. This feature enhances the customer experience by providing convenient access to order tracking information within their account.