Setting Up Smart AI Image Enhancer for WooCommerce
Configuring General Settings
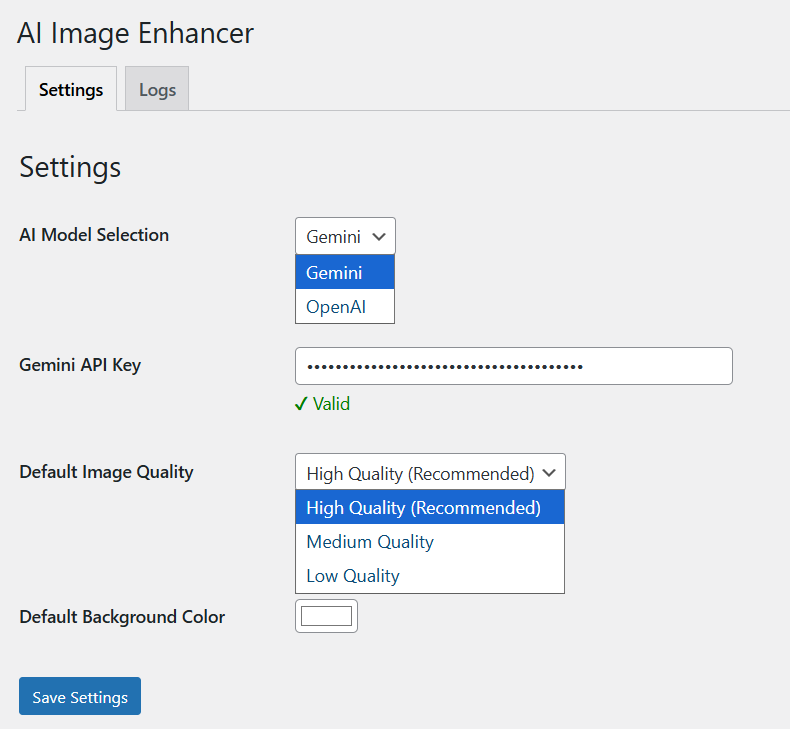
To configure general settings, go to WooCommerce > AI Image Enhancer > Settings. Here you can add the following details:
- AI Model Selection: From the dropdown, select the following AI model to generate featured images:
- OpenAI
- Gemini
- Gemini API Key: Based on the selected AI model, add the API Key or generate a new one from here.
- Default Image Quality: From the dropdown, select image quality as:
- High
- Medium
- Low
- Default Background Color: add a custom background color to apply during image enhancement.
Steps for How to Enhance the Image
To enhance the image, go to Products > All Products > Select the item whose image you want to enhance > Click Edit. Navigate to the left side of the page where the image is displayed and select enhance. Now follow the steps below:
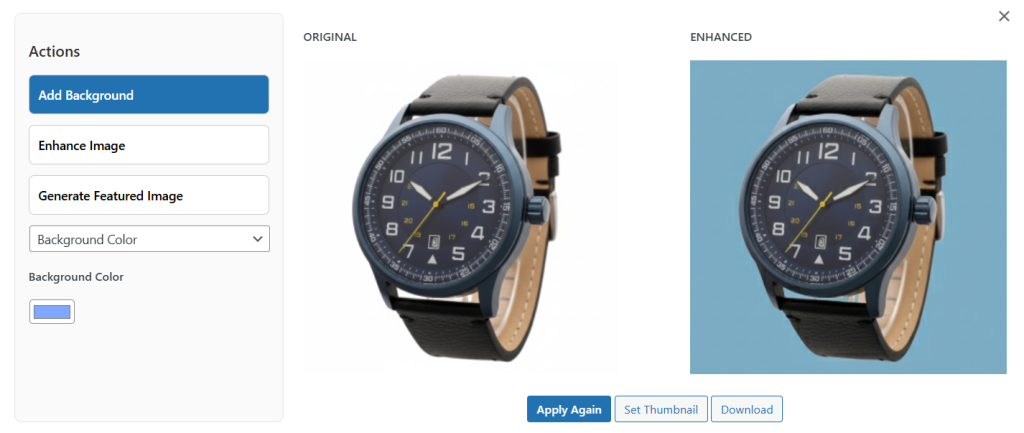
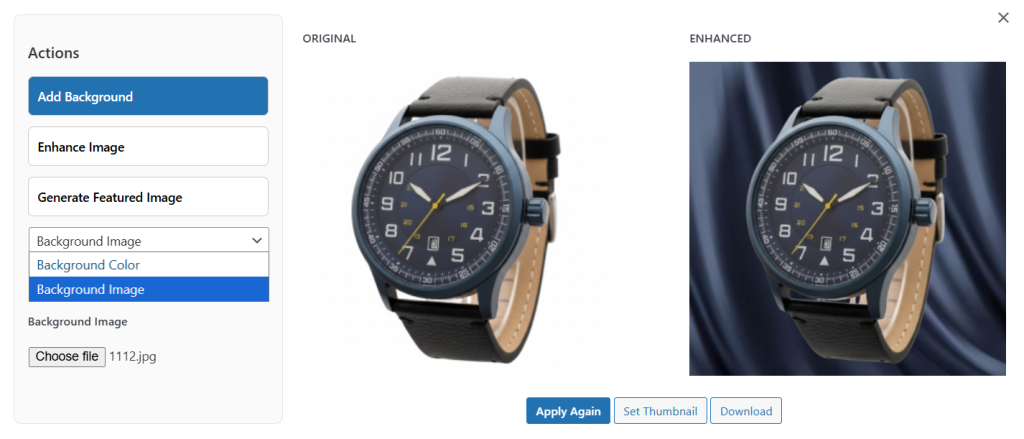
- Add Background: choose to modify or change the background image. Now, from the dropdown, select the following:
- Background Color: From the color palette, select the desired color for the image background
- Background Image: select “Choose File” to upload any image as the background for the featured image
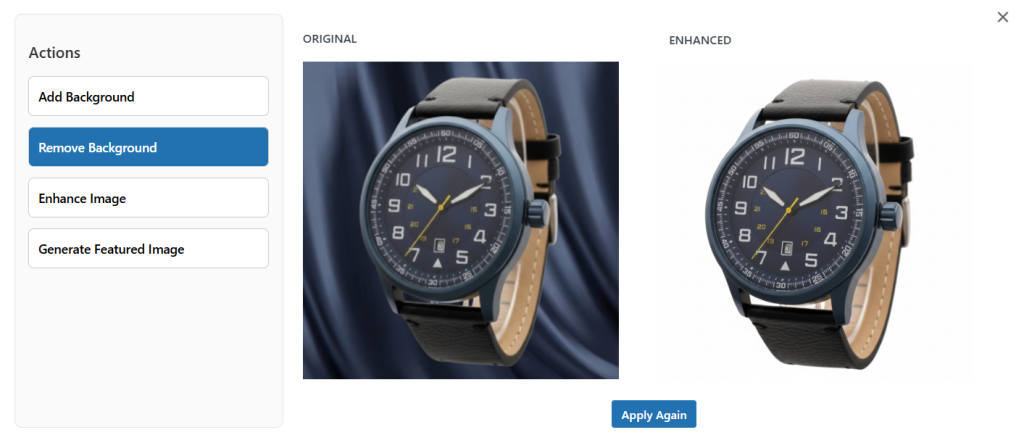
- Remove background: select the option to completely remove the background. This option is only available while using the OpenAI model.
- Enhance Image: Select enhance image button and click on Apply changes. You can also select the Apply Again button in case the results are not the same.
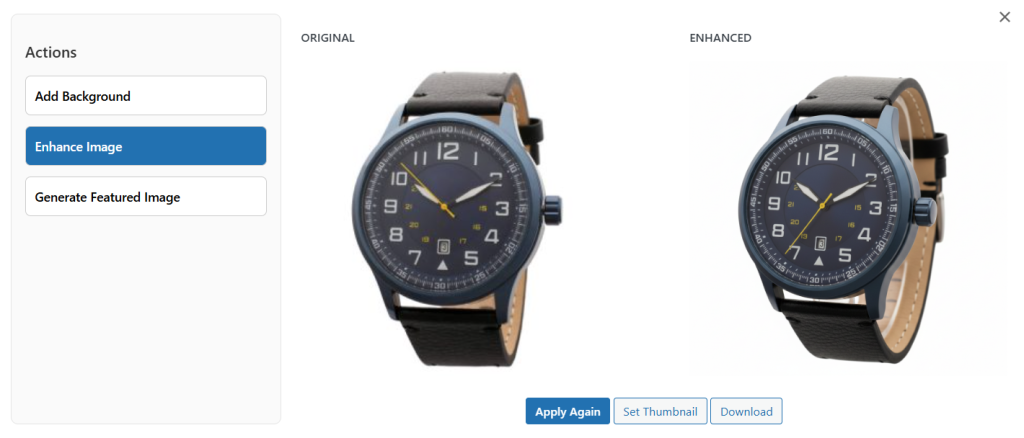
- Set Thumbnail: Select set thumbnail to assign processed images as the featured image
- Download: Save the image to your personal gallery
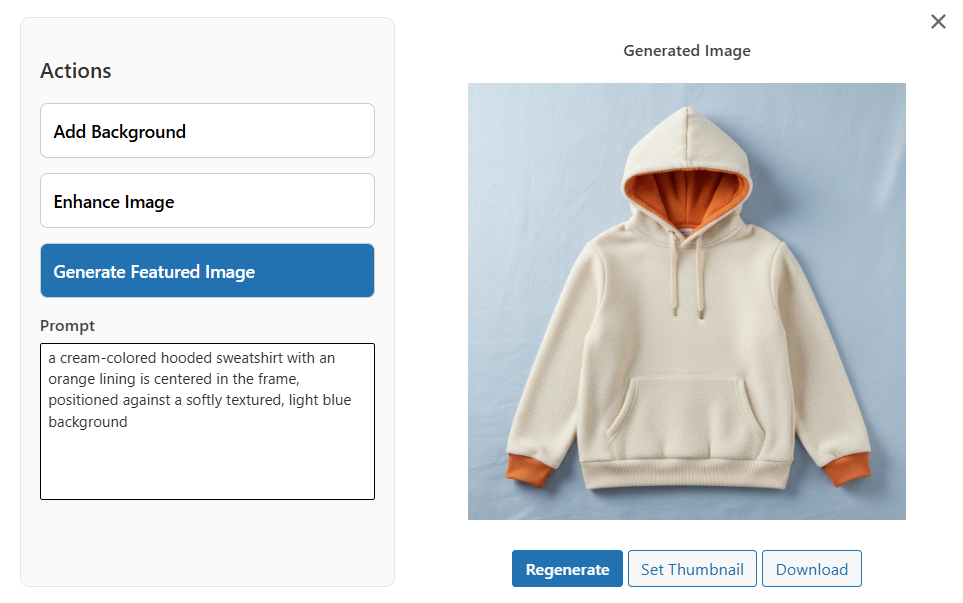
- Generate Featured Image: Select the option to generate a new product image.
- Prompt: Enter the prompt and describe the image you want to generate
NOTE: In addition to existing product images, admins can also enhance the newly uploaded images directly from the media gallery.
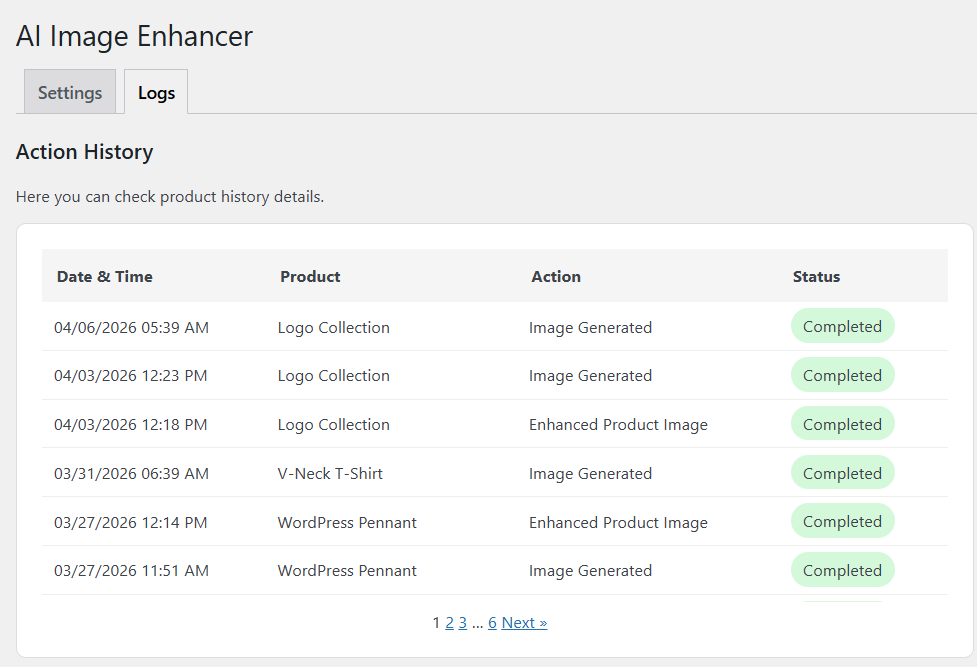
Manage Image Enhancement Logs
Go to WooCommerce > AI Image Enhancer and select Logs. Here you can track the following details:
- Date & Time when the image was enhanced
- Product name that was used for enhancement
- Action that specifies the modifications
- Status shows whether the process was successful or failed